Microsoft Excel Integration
Verify emails and phone numbers directly from Microsoft Excel using the ApexVerify add-in. Select a column, configure your verification settings, and results are written back to your sheet automatically.
Prerequisites: a Microsoft account with access to Microsoft Excel and a valid ApexVerify API key. If you haven’t created one yet, see Your First API Key.
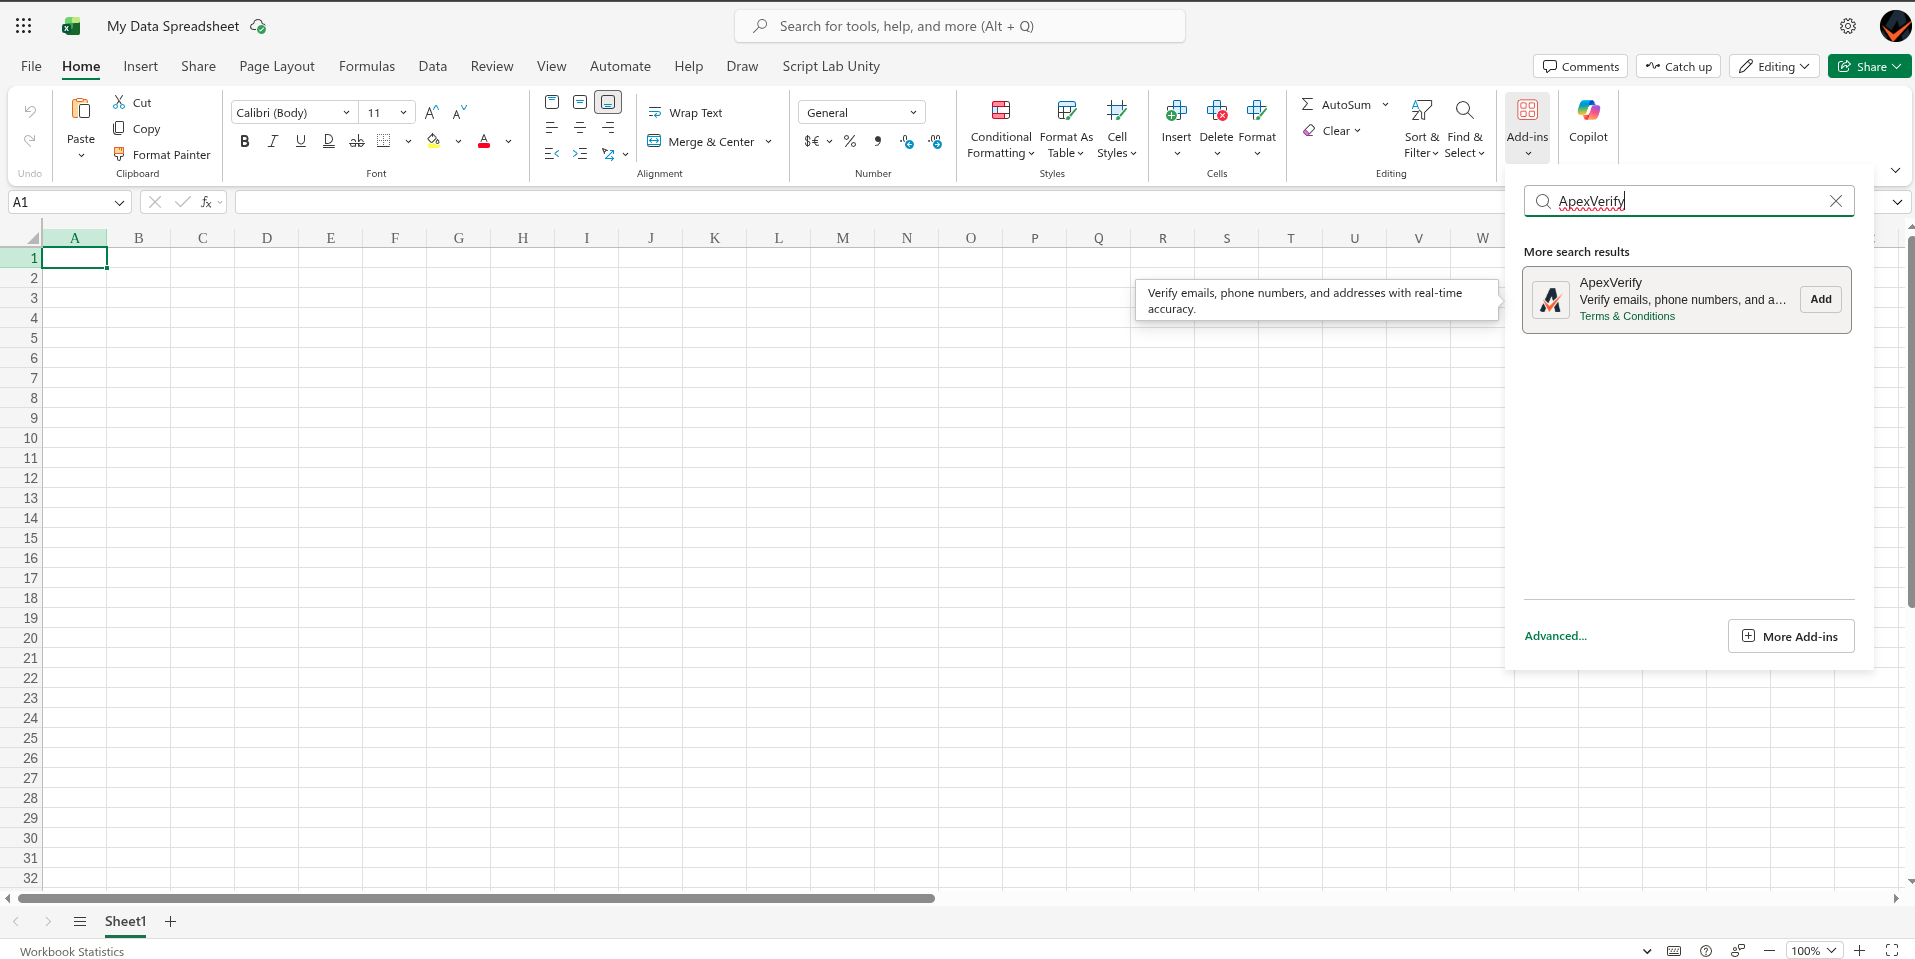
Step 1: Install the Add-in
Open Microsoft Excel and go to Home → Add-ins. Search for ApexVerify in the Office Add-ins Store and click on Add and wait a few seconds.
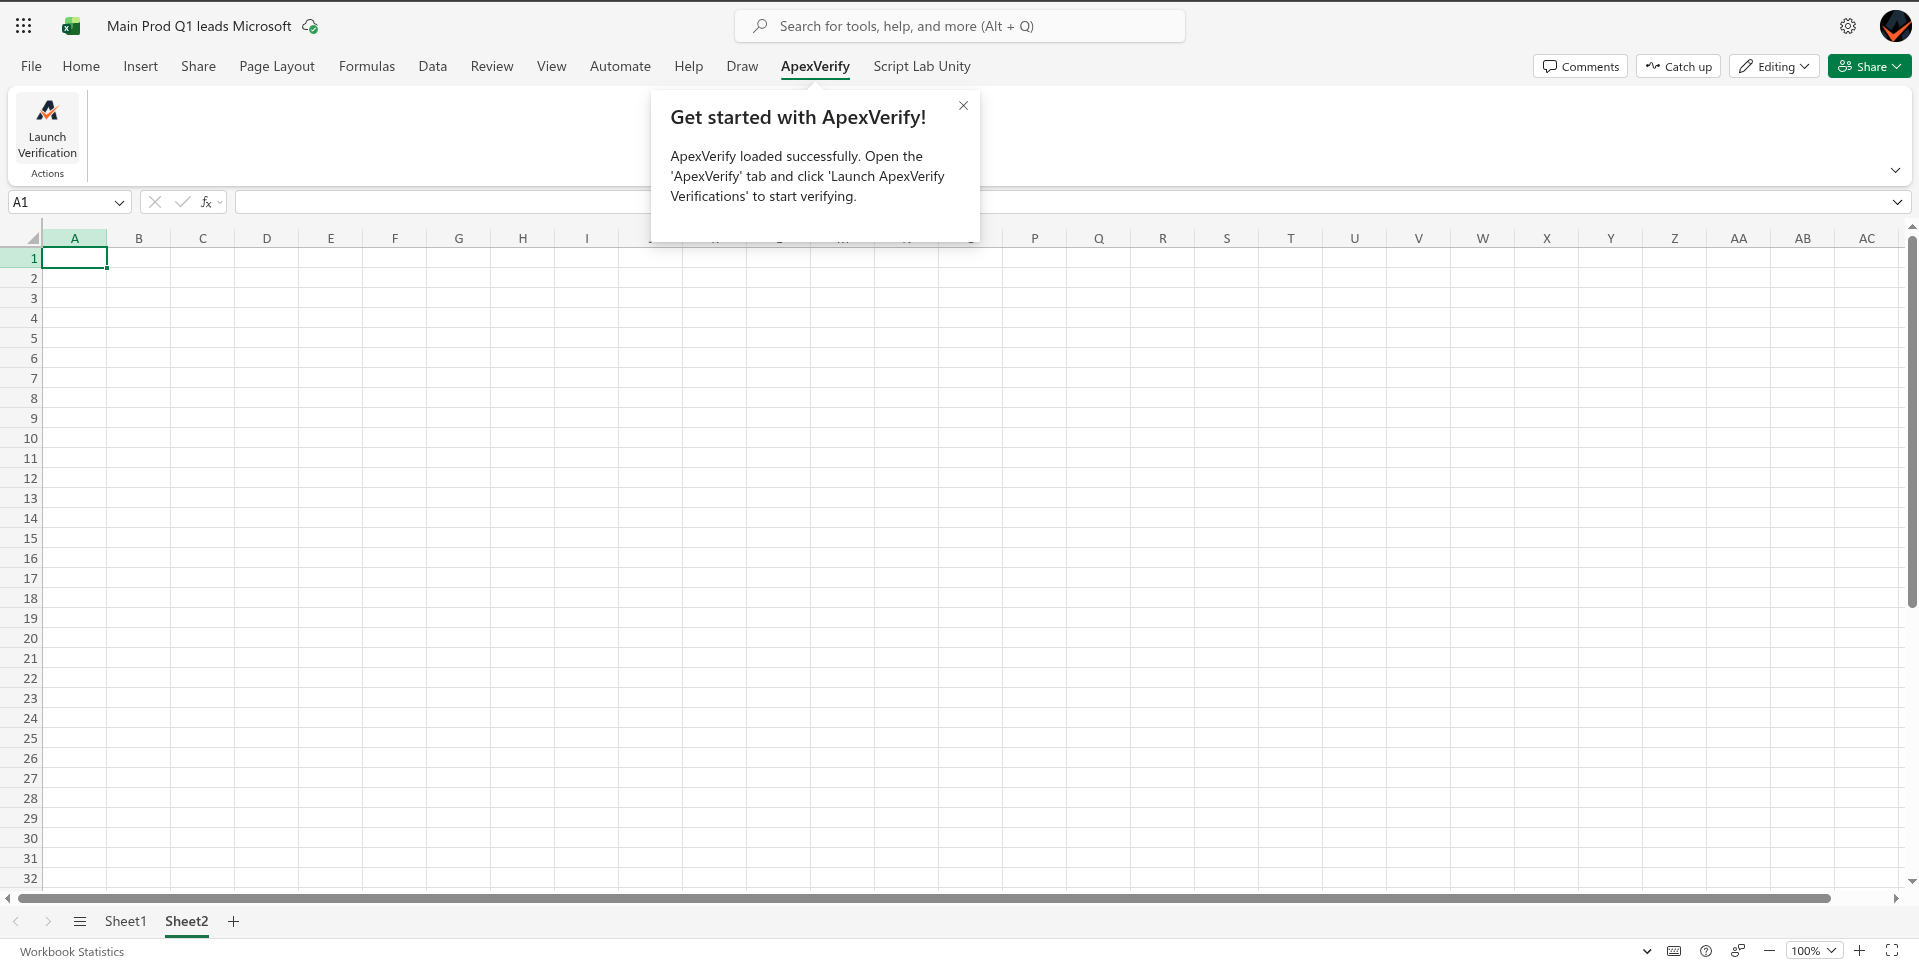
Step 2: Access the add-in menu
After install, the add-in window should open directly. If not, open the add-in from the menu by clicking the ApexVerify button.
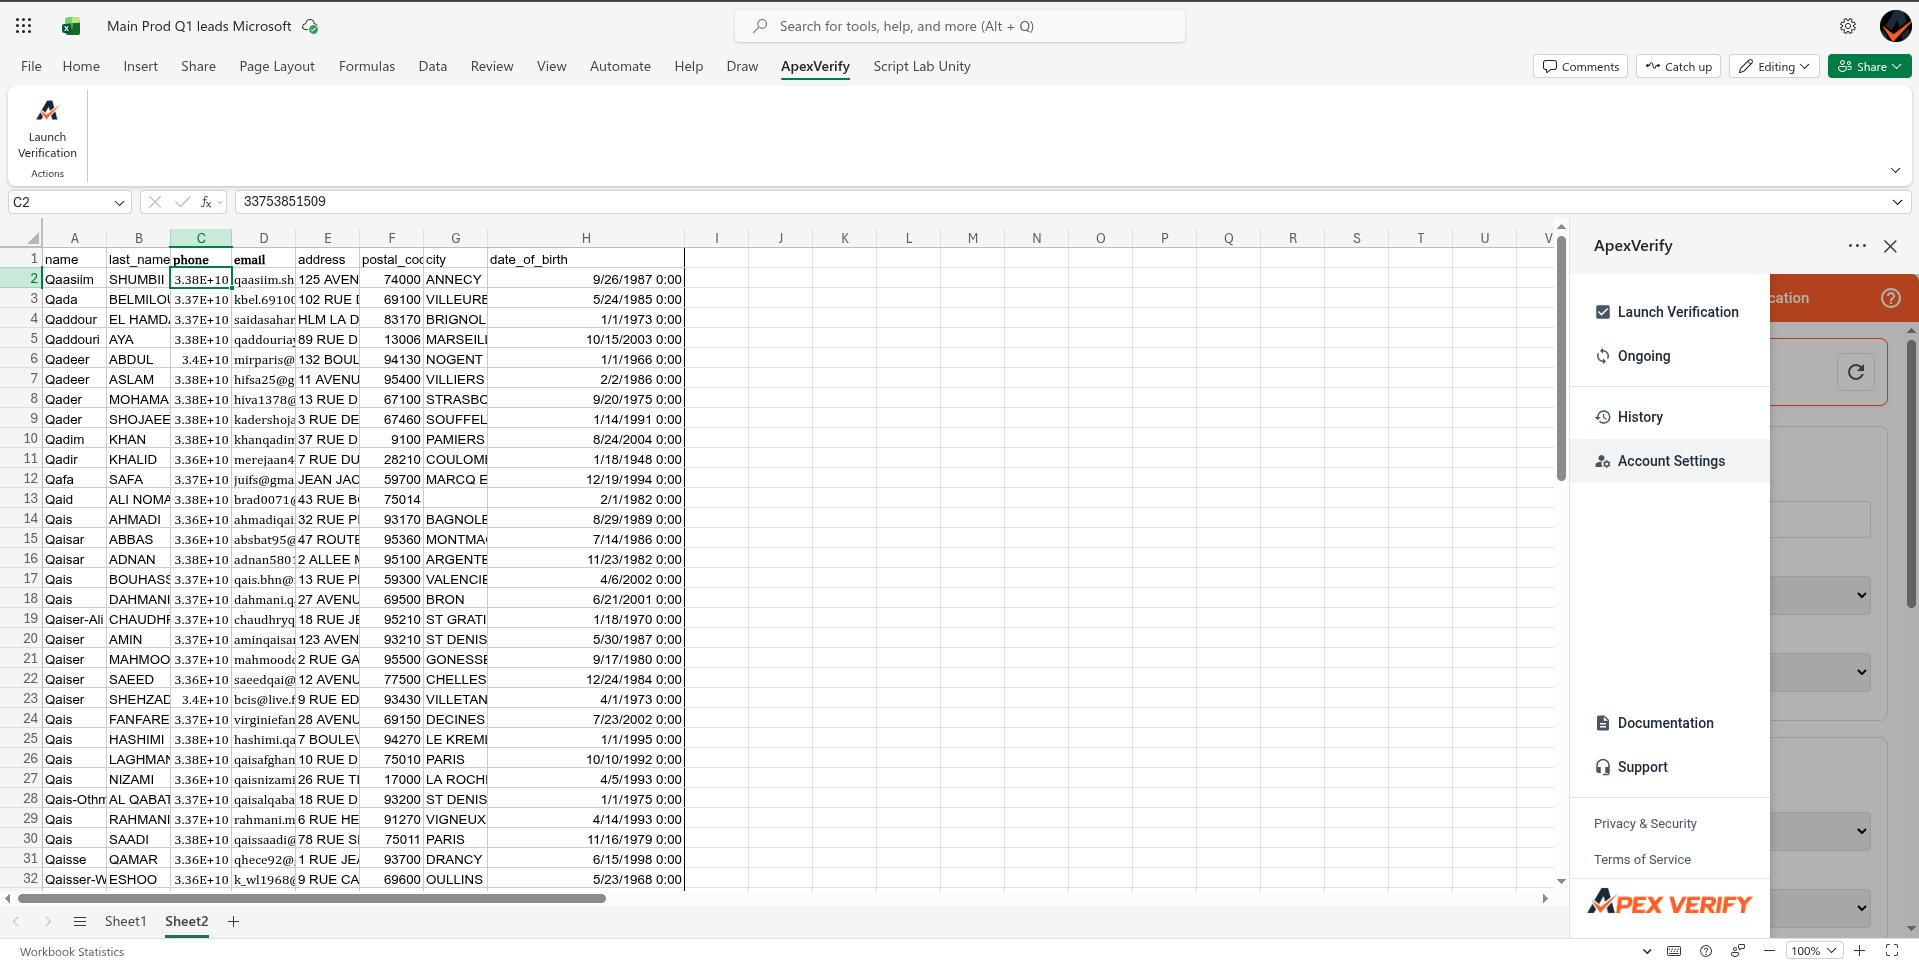
Step 3: Launch add-in verification settings
In the sidebar, click Account Settings to open the verification configuration panel. This is where you configure how the add-in connects to your ApexVerify account.
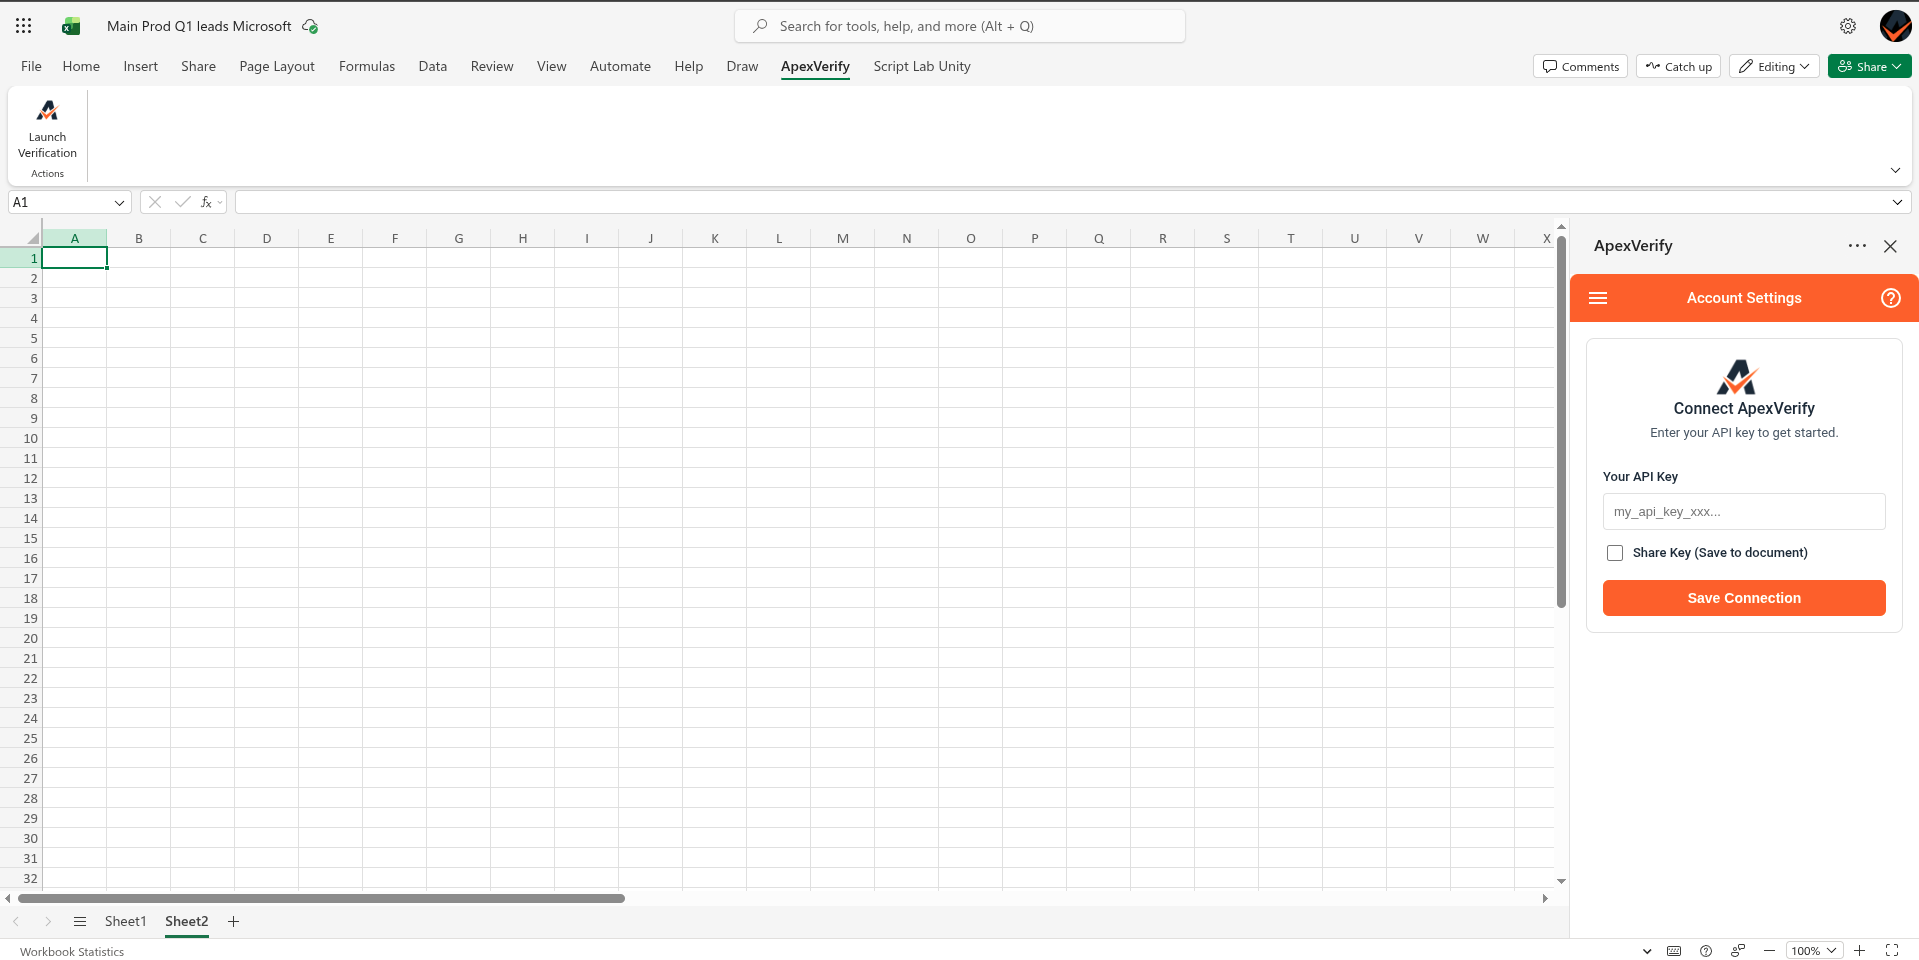
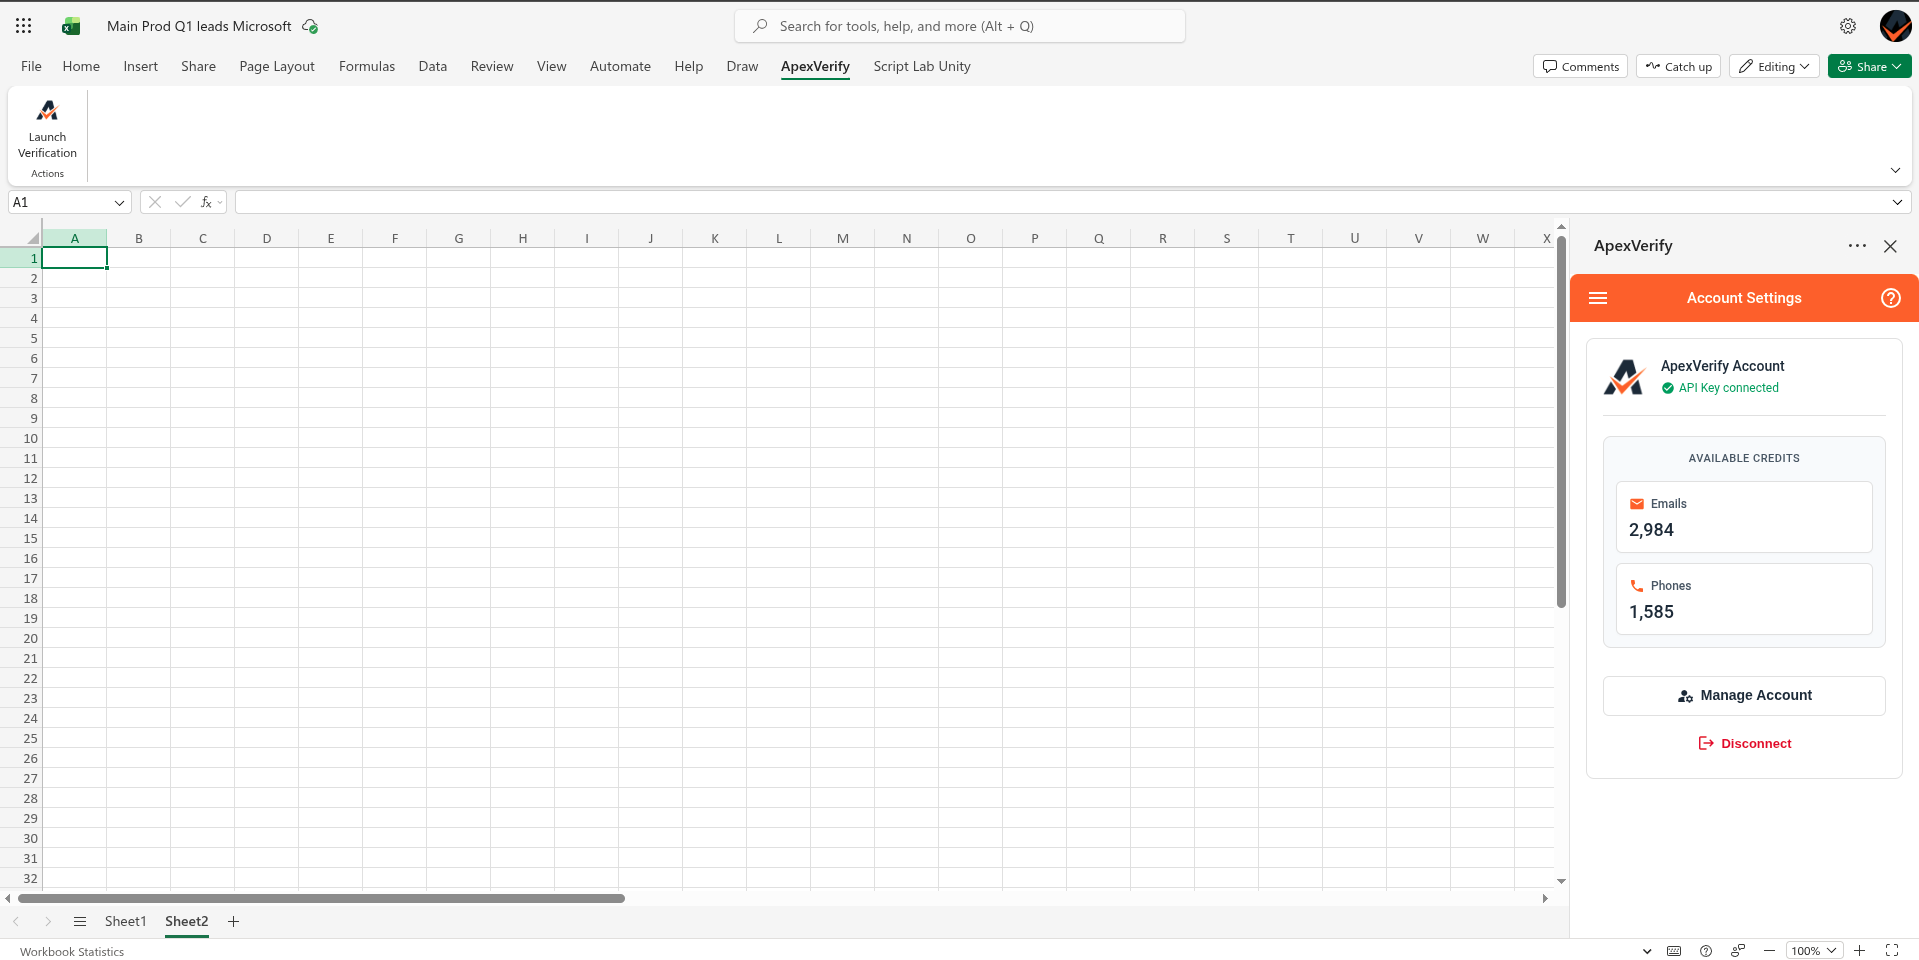
Step 4: Add your API Key in Account Settings
In the Account Settings section, paste your ApexVerify API key in the Your API Key field and click Save Connection. The add-in will use this key to authenticate all verification requests.
Step 5: Verify API Key connected
After saving, the add-in will validate your key against the ApexVerify API. A green Connected status confirms your account is linked and ready. If the connection fails, double-check that the key was copied correctly.
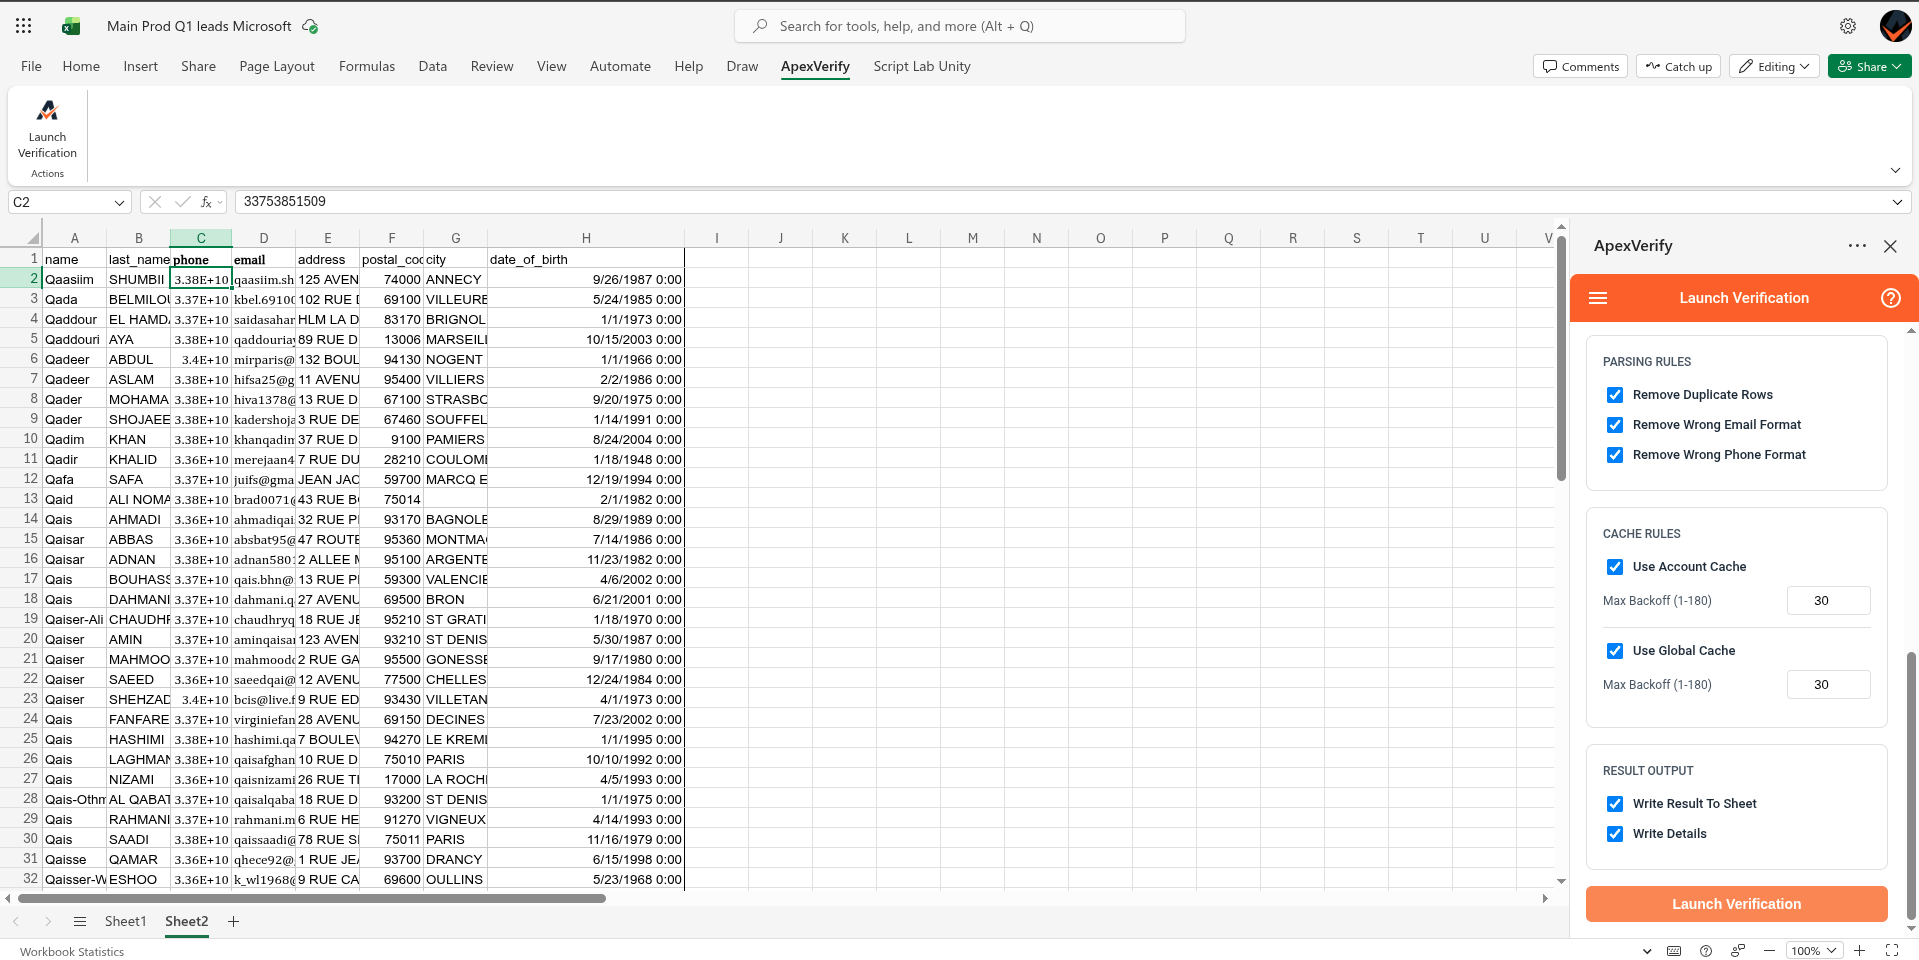
Step 6: Complete the verification form
Back in the main sidebar, fill in the verification details:
- Column — select the column containing the emails or phone numbers to verify
- Data type —
EmailorPhone - Target Country — the country code for your contacts (e.g.
US,SG,GB)
Optional fields include target audience, cache settings, and written output preferences.
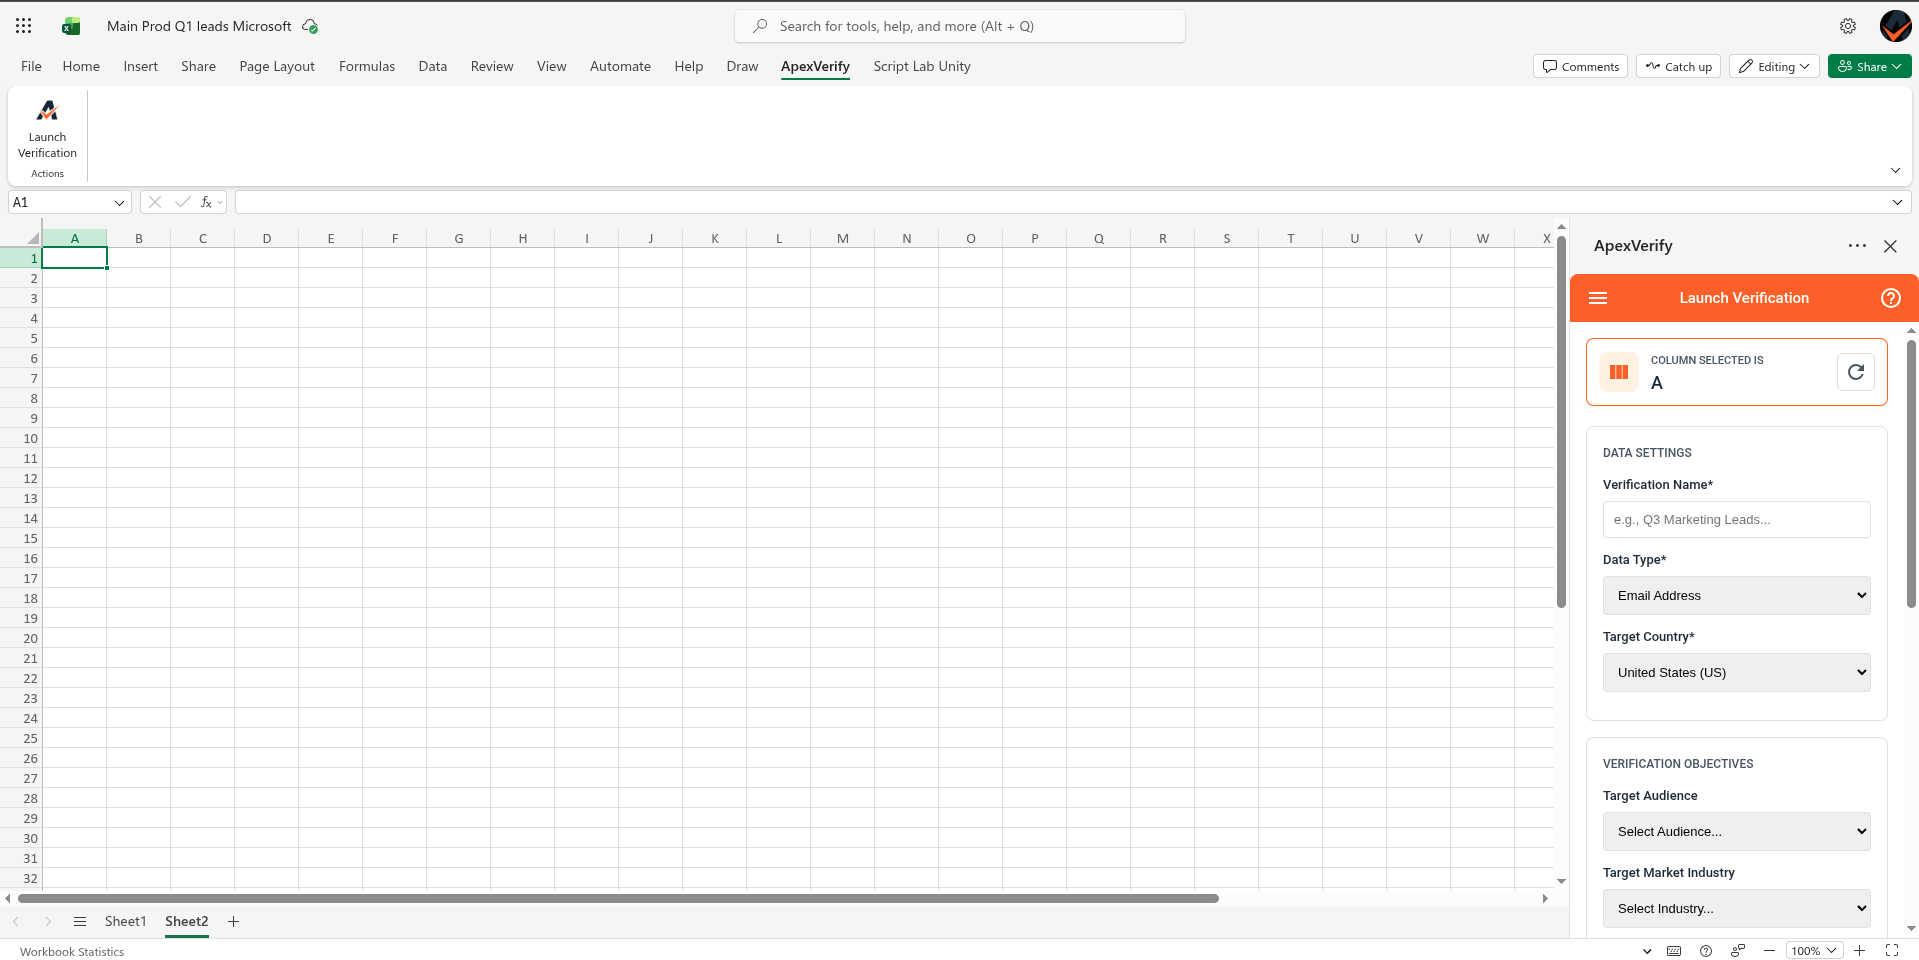
Step 7: Launch verification
Click Launch Verification. The add-in will submit your data to ApexVerify and begin processing in the background.
You can use API Requests directly instead of integration if you want the cost details before launching verifications.
Step 8: Wait for results to be written to the sheet
Once verification is complete, results are written directly into your spreadsheet. one column per result field, next to your original data. Processing time depends on list size. You will also receive a confirmation email when done.
Do not move or reorder columns while jobs are pending, as this may cause the output data to shift to incorrect indexes. Wait until verification is complete before modifying column content or order.
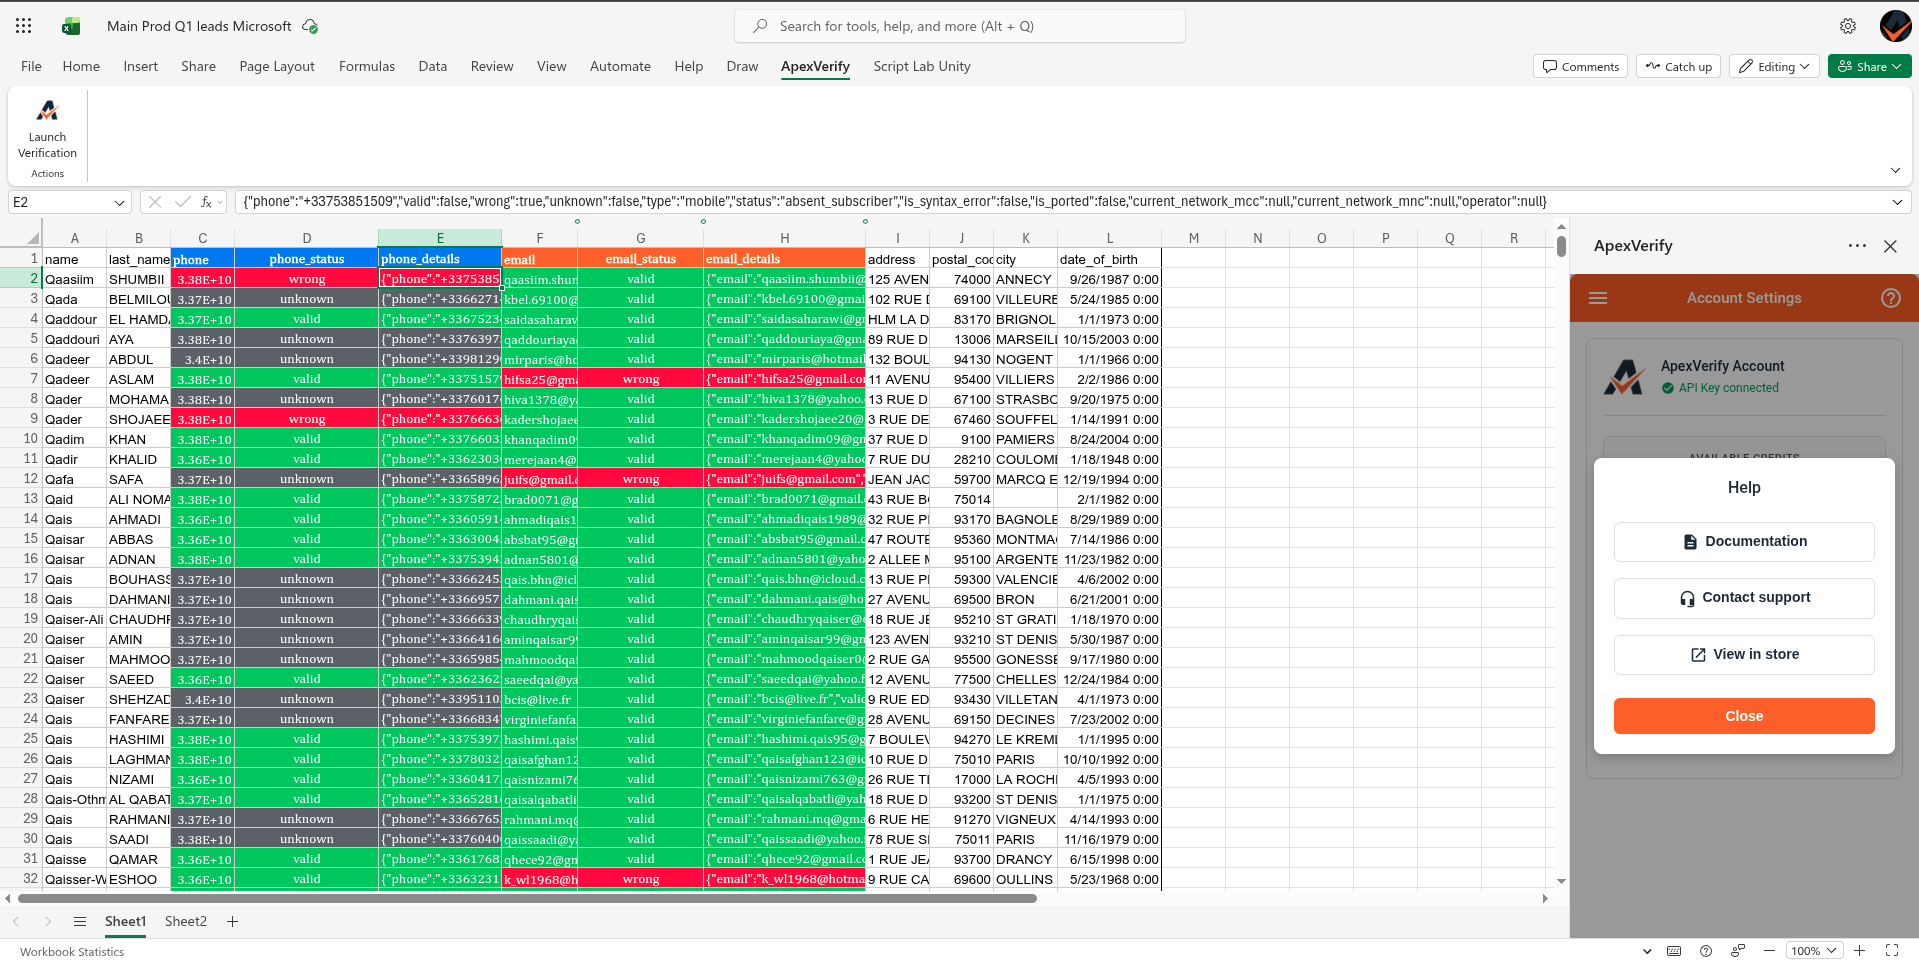
You’re done! Your verification results are now in your sheet. Each row includes validity, quality signals, and metadata for the email or phone number verified.
Frequently Asked Questions
How can I run verification again on my current sheet?
To reverify your data, delete the previously generated result columns for clarity. Then select your original data column, configure your settings again, and click Launch Verification. Reverification is recommended every 90 days to keep your data accurate and up to date.
Can I verify multiple columns at once?
No, verification runs on one column at a time. If you have multiple columns (e.g. emails and phone numbers), run separate verifications for each column.
What happens if I modify my sheet while verification is running?
You should avoid moving, deleting, or reordering columns while jobs are pending. This can cause results to be written to incorrect columns and lead to data misalignment.
Where are the results written in my sheet?
Results are automatically added as new columns next to your original data. Each column corresponds to a specific result field such as validity, status, or metadata.
How long does verification take?
Processing time depends on the size of your list. Small lists may complete in seconds, while larger lists can take several minutes. You’ll receive a confirmation email once the process is complete.
What should I do if my API key is not working?
Double-check that your API key is correctly copied and pasted into the Account Settings. If the issue persists, generate a new API key from your ApexVerify dashboard and try again.
Can I see the cost before launching verification?
No. You have to use manual API Workflow to estimate costs before running a verification.
Do I need to keep the add-in open during verification?
No, once the verification is launched, it runs in the background. You can close the sidebar and the spreadsheet. Your results will be written when the add-in is started again.