Your First API Key
Every request to the ApexVerify API must be authenticated with an API key. This guide walks you through creating your account, generating your first key, and verifying it works — in under 2 minutes.
ApexVerify uses a custom HTTP header for authentication: X-Api-Key: YOUR_API_KEY. Include this header on every API request. Requests without a valid key return 401 Unauthorized.
Steps
Create your account
Go to app.apexverify.com and sign up for a free account through your preferred provider.
Open the Dashboard
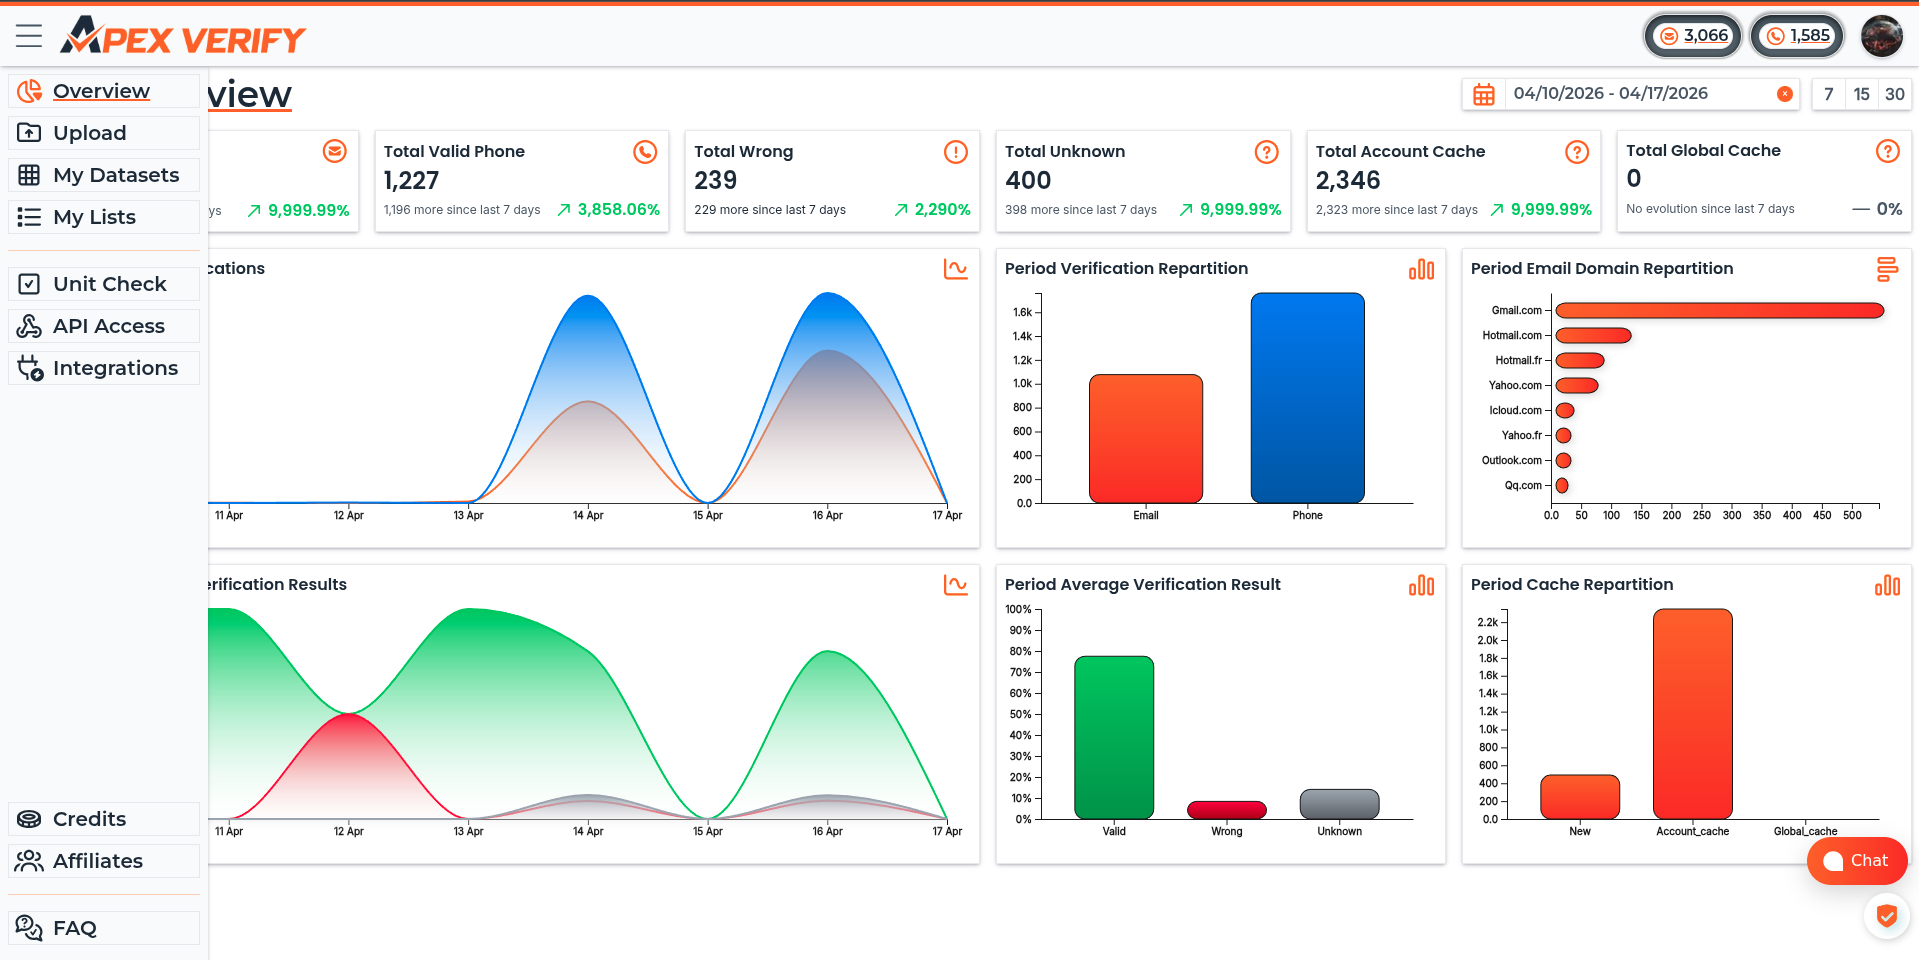
Log in at app.apexverify.com. The dashboard is your control center for API keys, uploads, credit usage, and settings.
Generate your API key
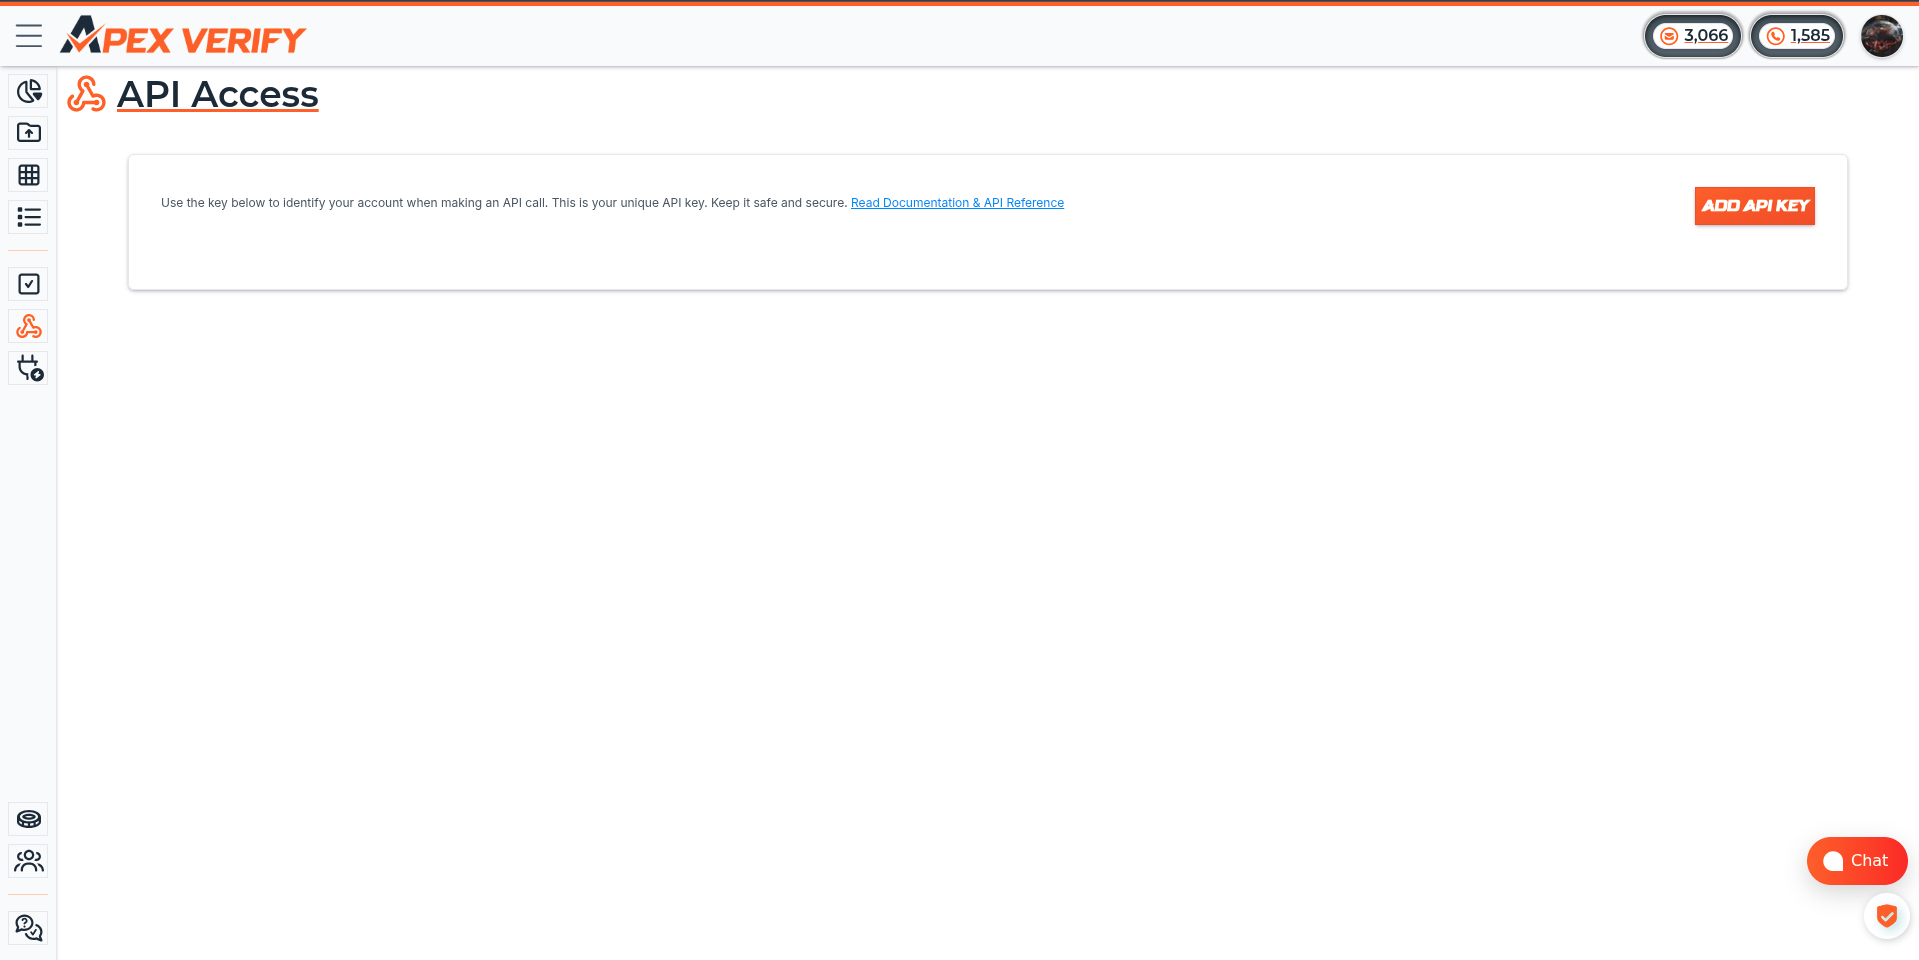
Navigate to API Access and click ADD API KEY.
Rename the key (e.g. production, dev-local, or ci-pipeline) to describe it for later easy analytics. Copy the key immediately and start use it.
Test your key
Run the following request to confirm the key is working. It fetches your current credit balance:
A successful response looks like this:
If you receive 401 Unauthorized, double-check that the key was copied correctly and the header name is exactly X-Api-Key.
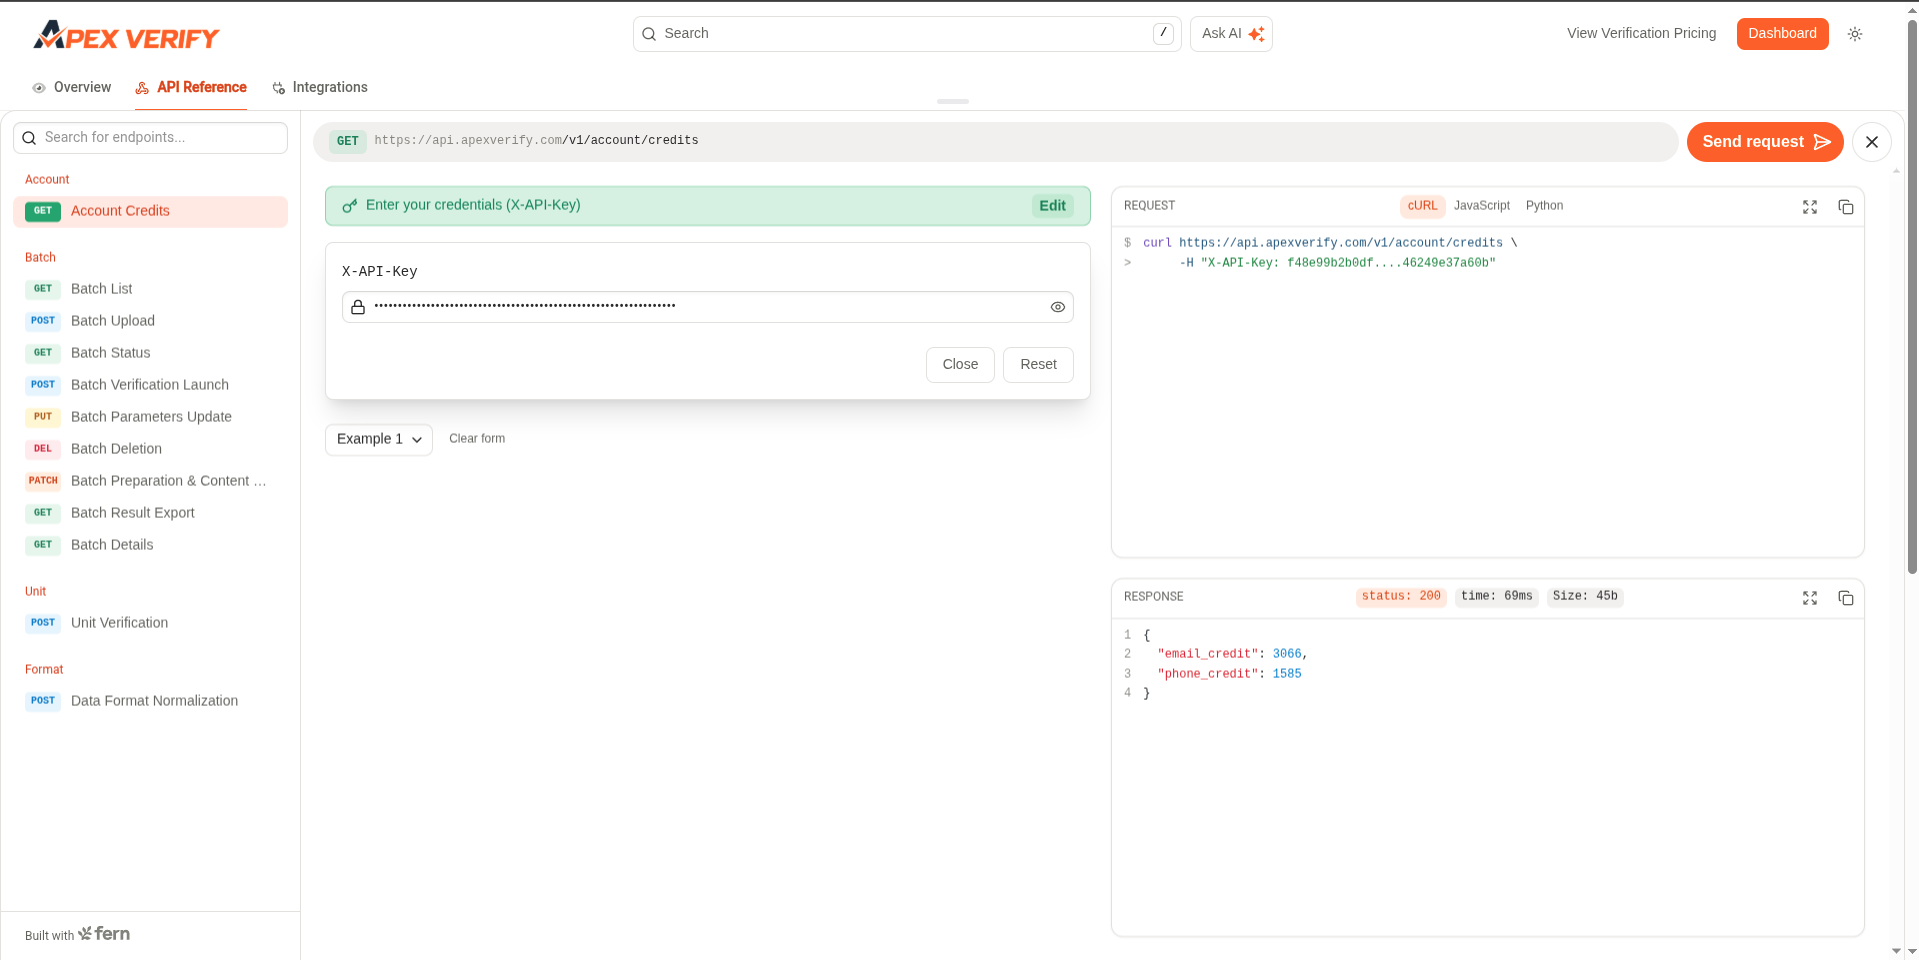
You can also try it from documentation like above on ApexVerify API Web UI
Never expose your API key in client-side code, public repositories, or unsecured environments. Treat it like a password. If a key is compromised, revoke it immediately from the Dashboard and generate a replacement.
See Creating Additional API Keys for key rotation best practices.