
Dataset Verification
This guide walks through uploading a structured dataset and running a full verification from the ApexVerify dashboard.
Prerequisites: a logged-in session at app.apexverify.com. If you haven’t created an account yet, see Your First API Key.
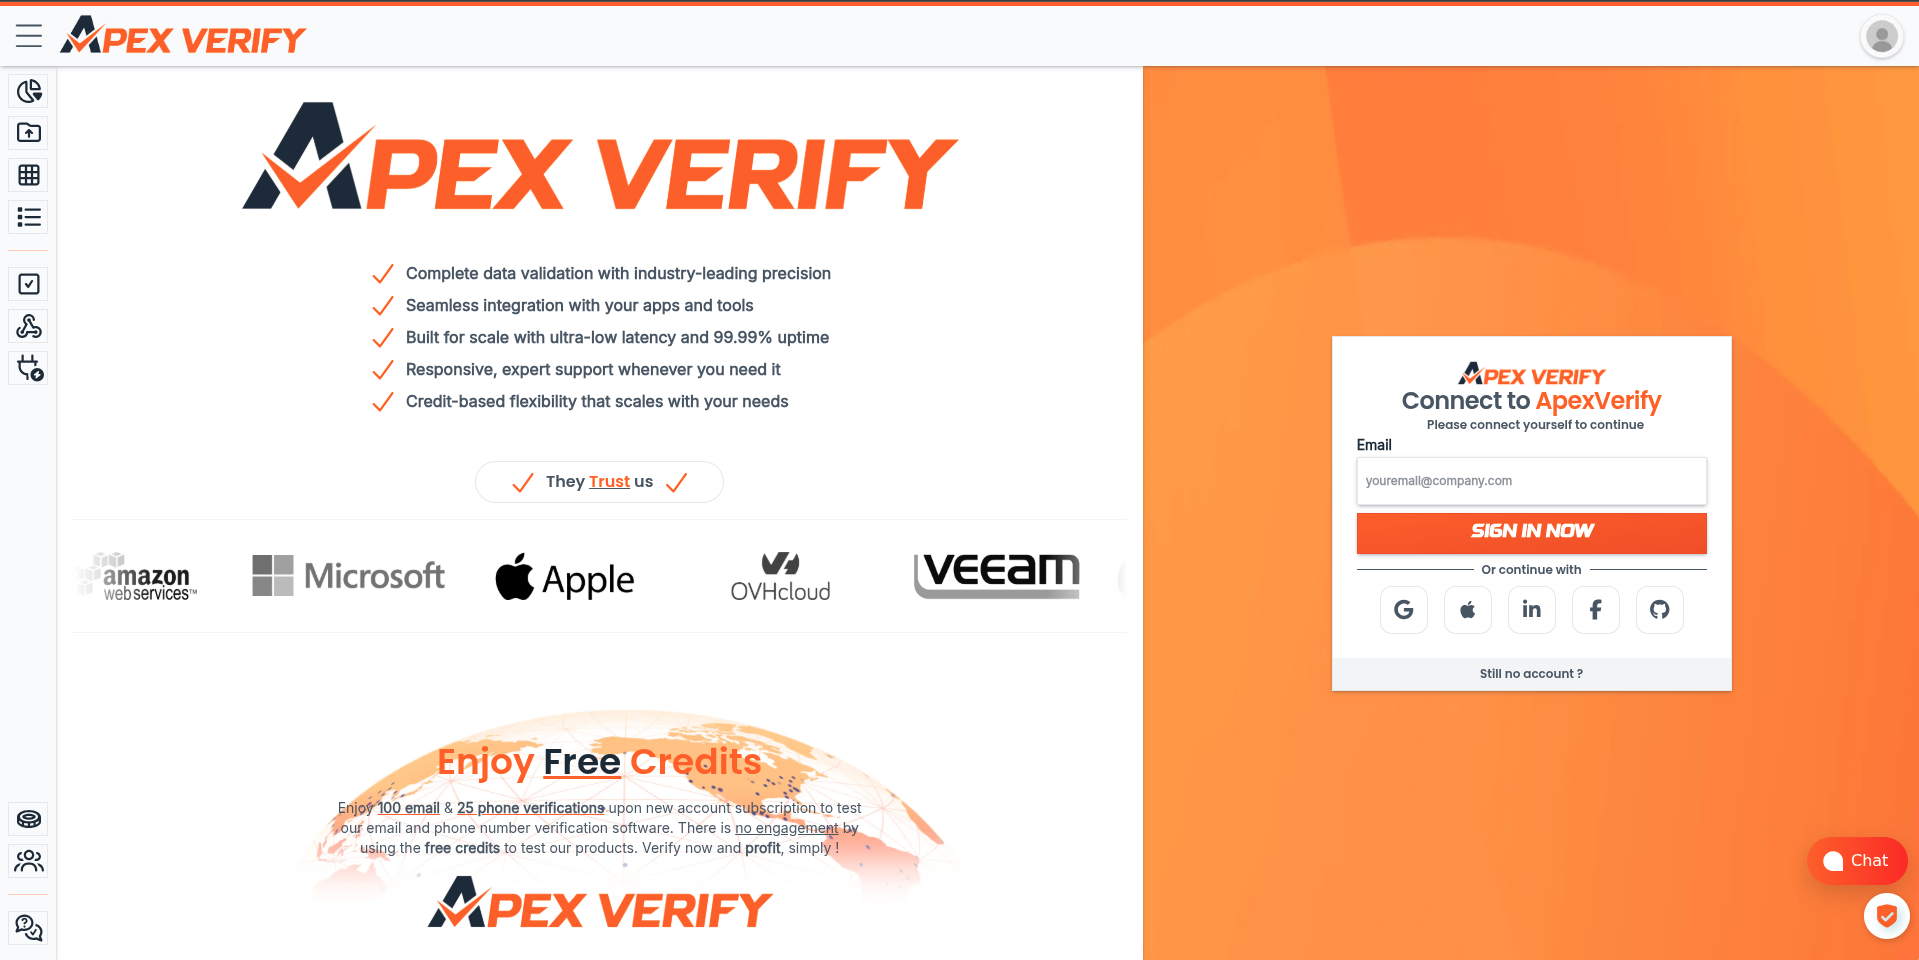
Step 1: Log in to the Dashboard
Go to app.apexverify.com and sign in with your account credentials.
Step 2: Go to Upload
In the left sidebar, click Upload. This is where you submit datasets for bulk verification.
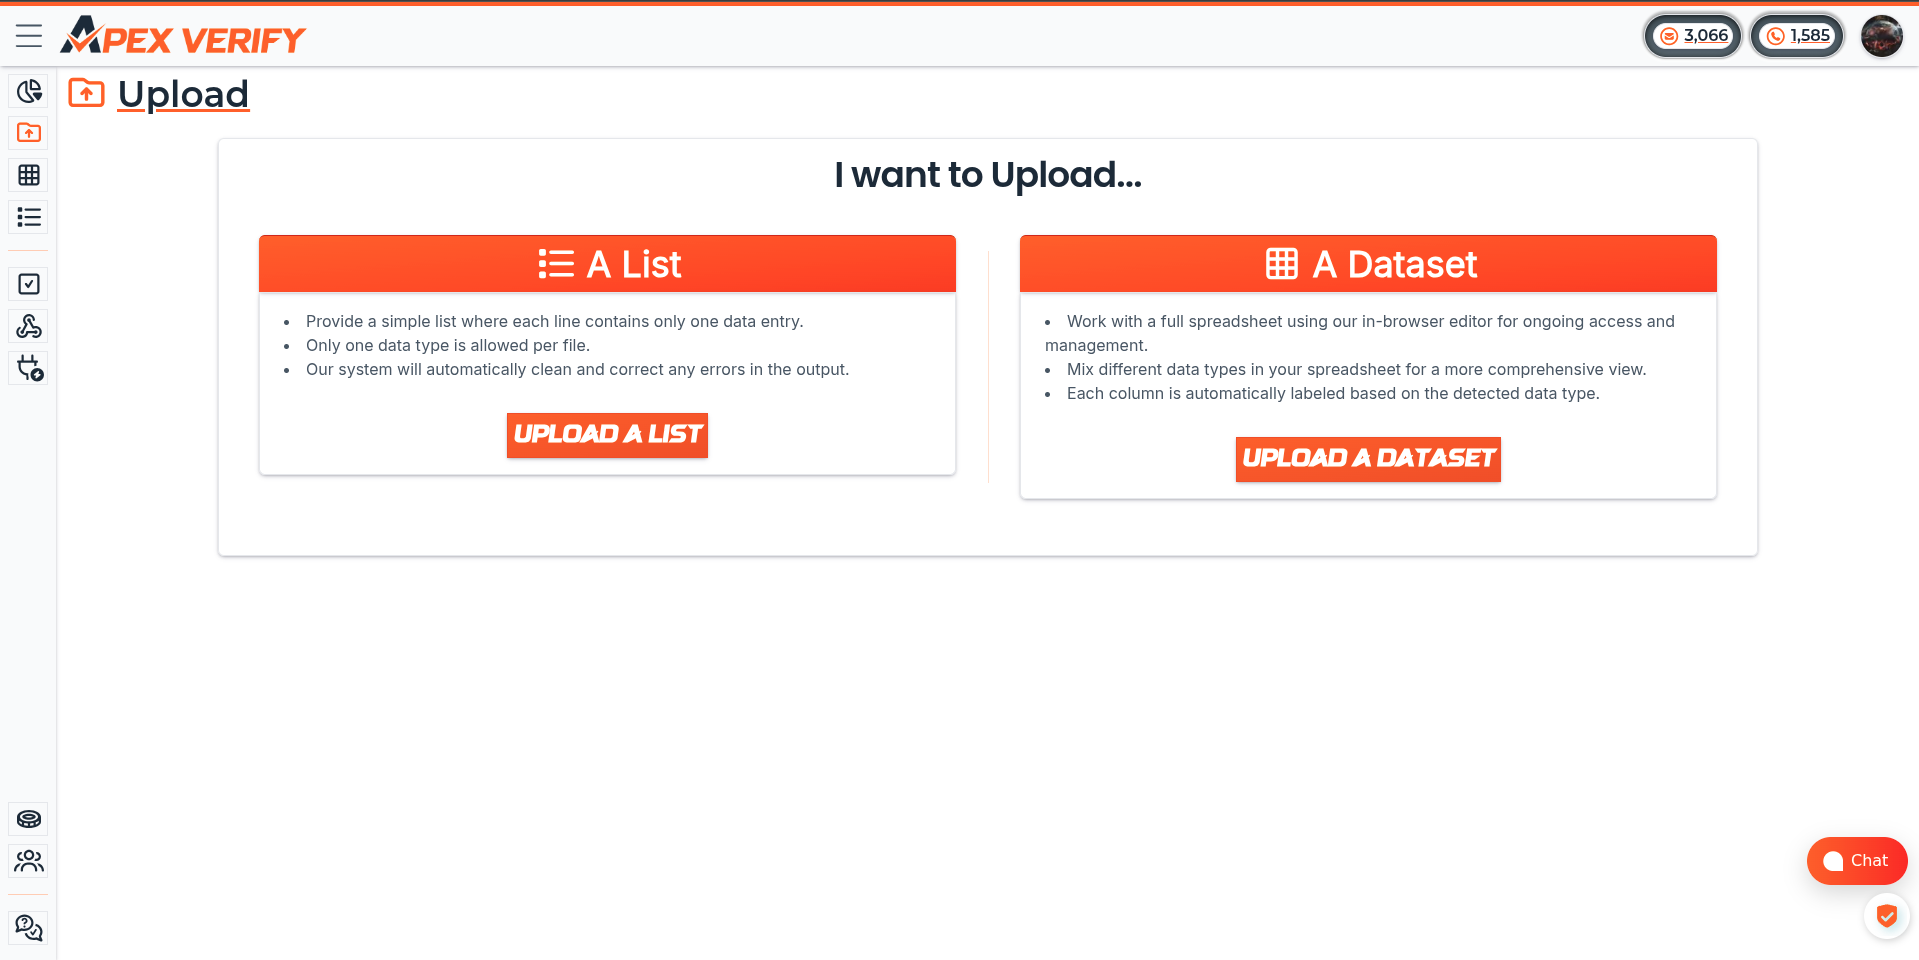
Step 3: Upload a Dataset
Click UPLOAD A DATASET and select your file. Dataset upload supports structured formats with multiple columns. Complete the upload and proceed to setup.
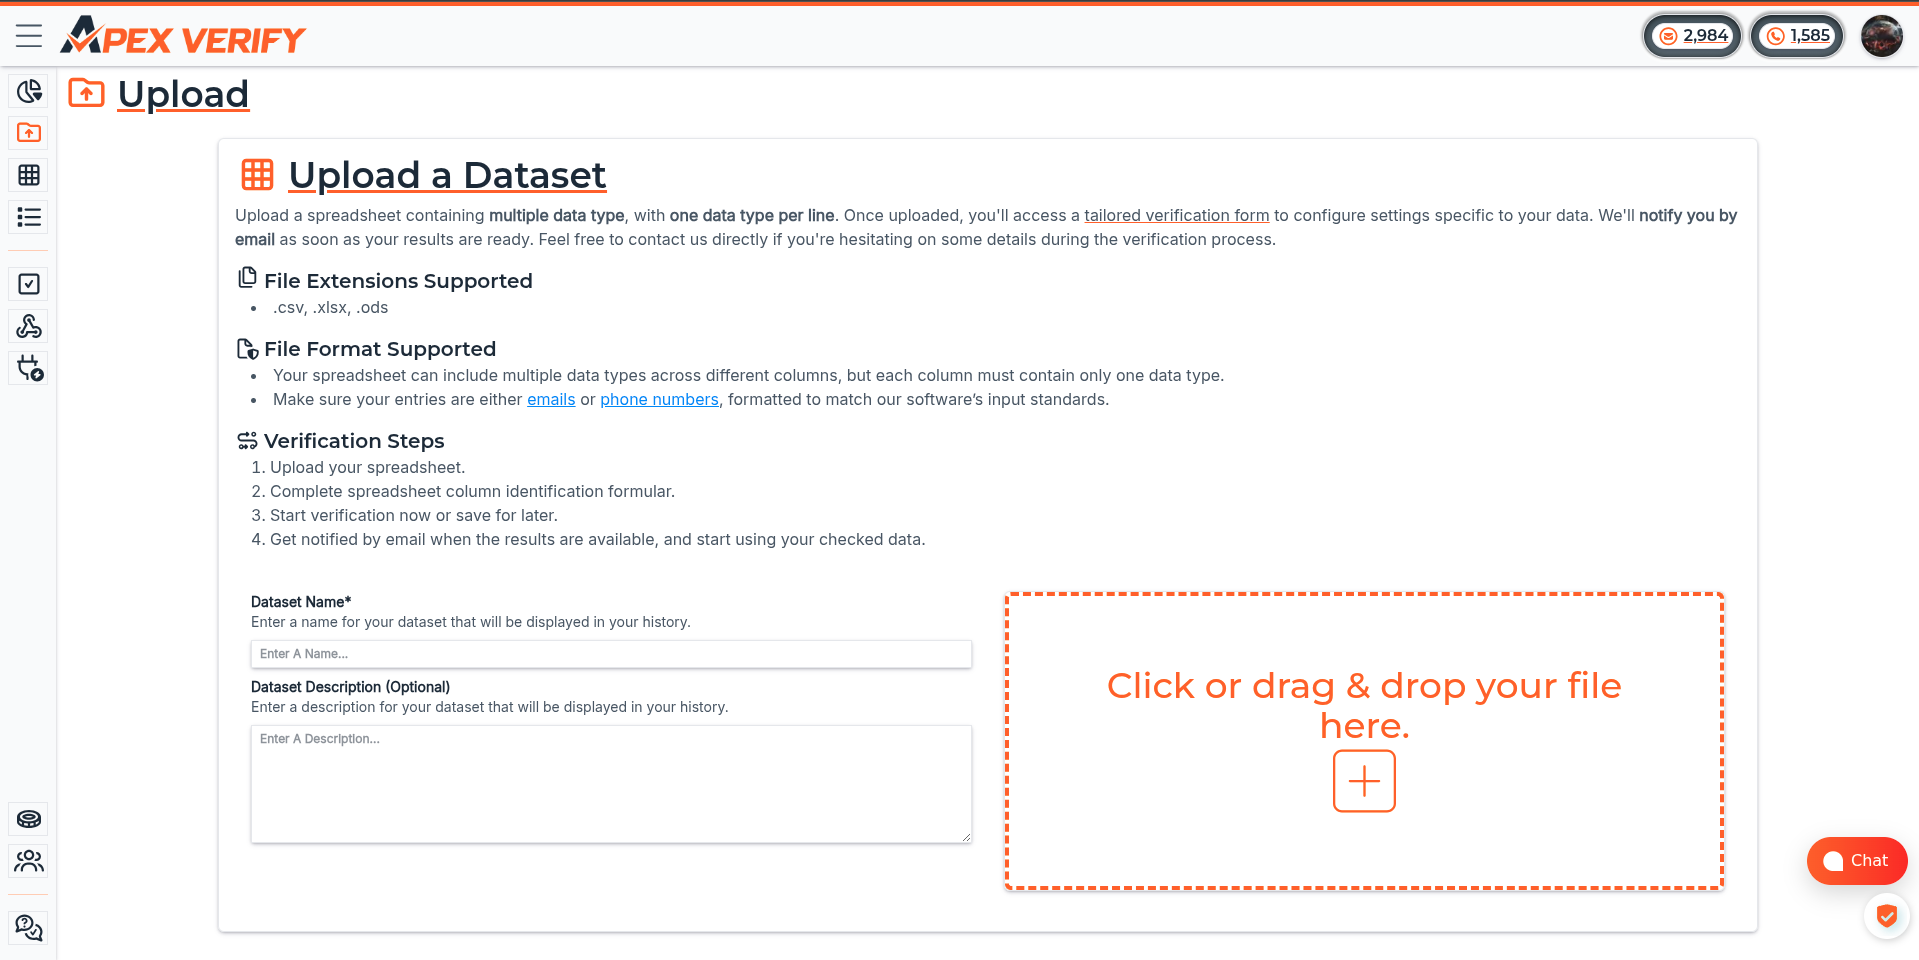
Step 4: Complete the form
Fill in the dataset details:
- Target Country — the targeted country for the verification. Most important settings overall.
Click NEXT until reaching the column mapping step. Optional fields include target details and cache settings.
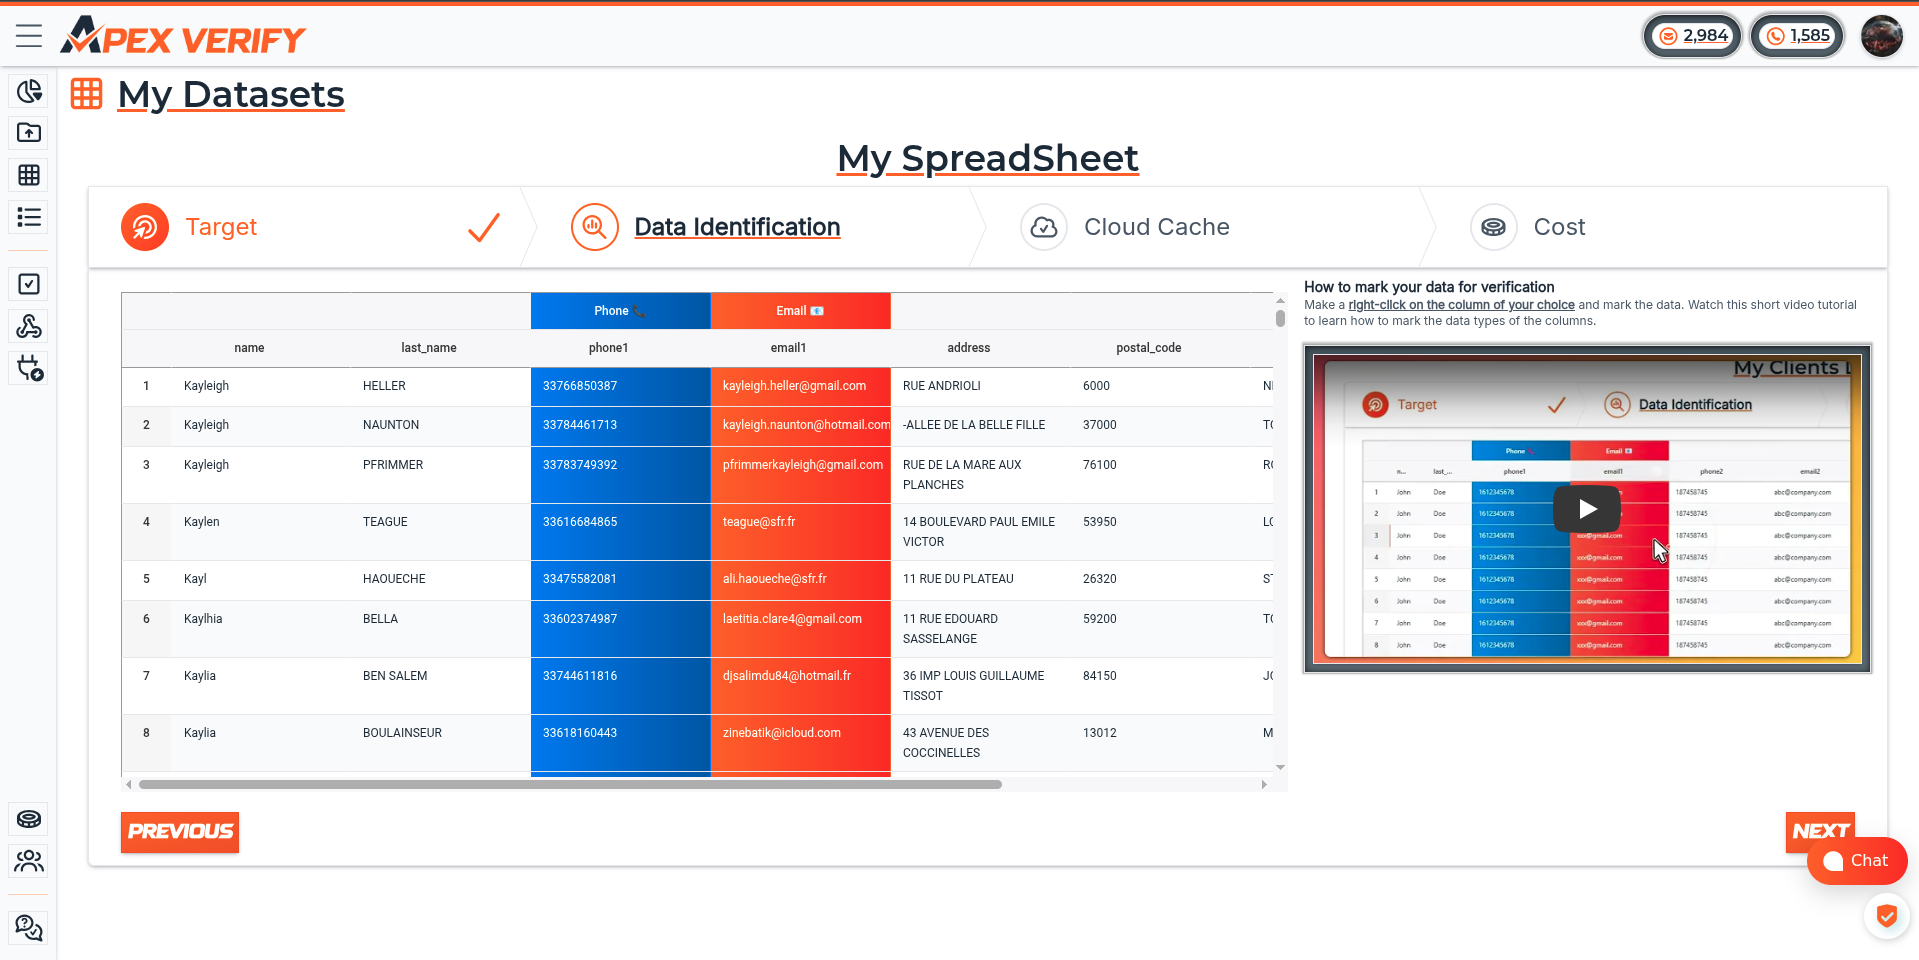
Step 5: Identify column data types
Map each column in your dataset to its data type by right-clicking on it. ApexVerify needs to know which column contains the emails or phone numbers to verify. ApexVerify will parse the file and calculate the verification cost.
Step 6: Launch verification
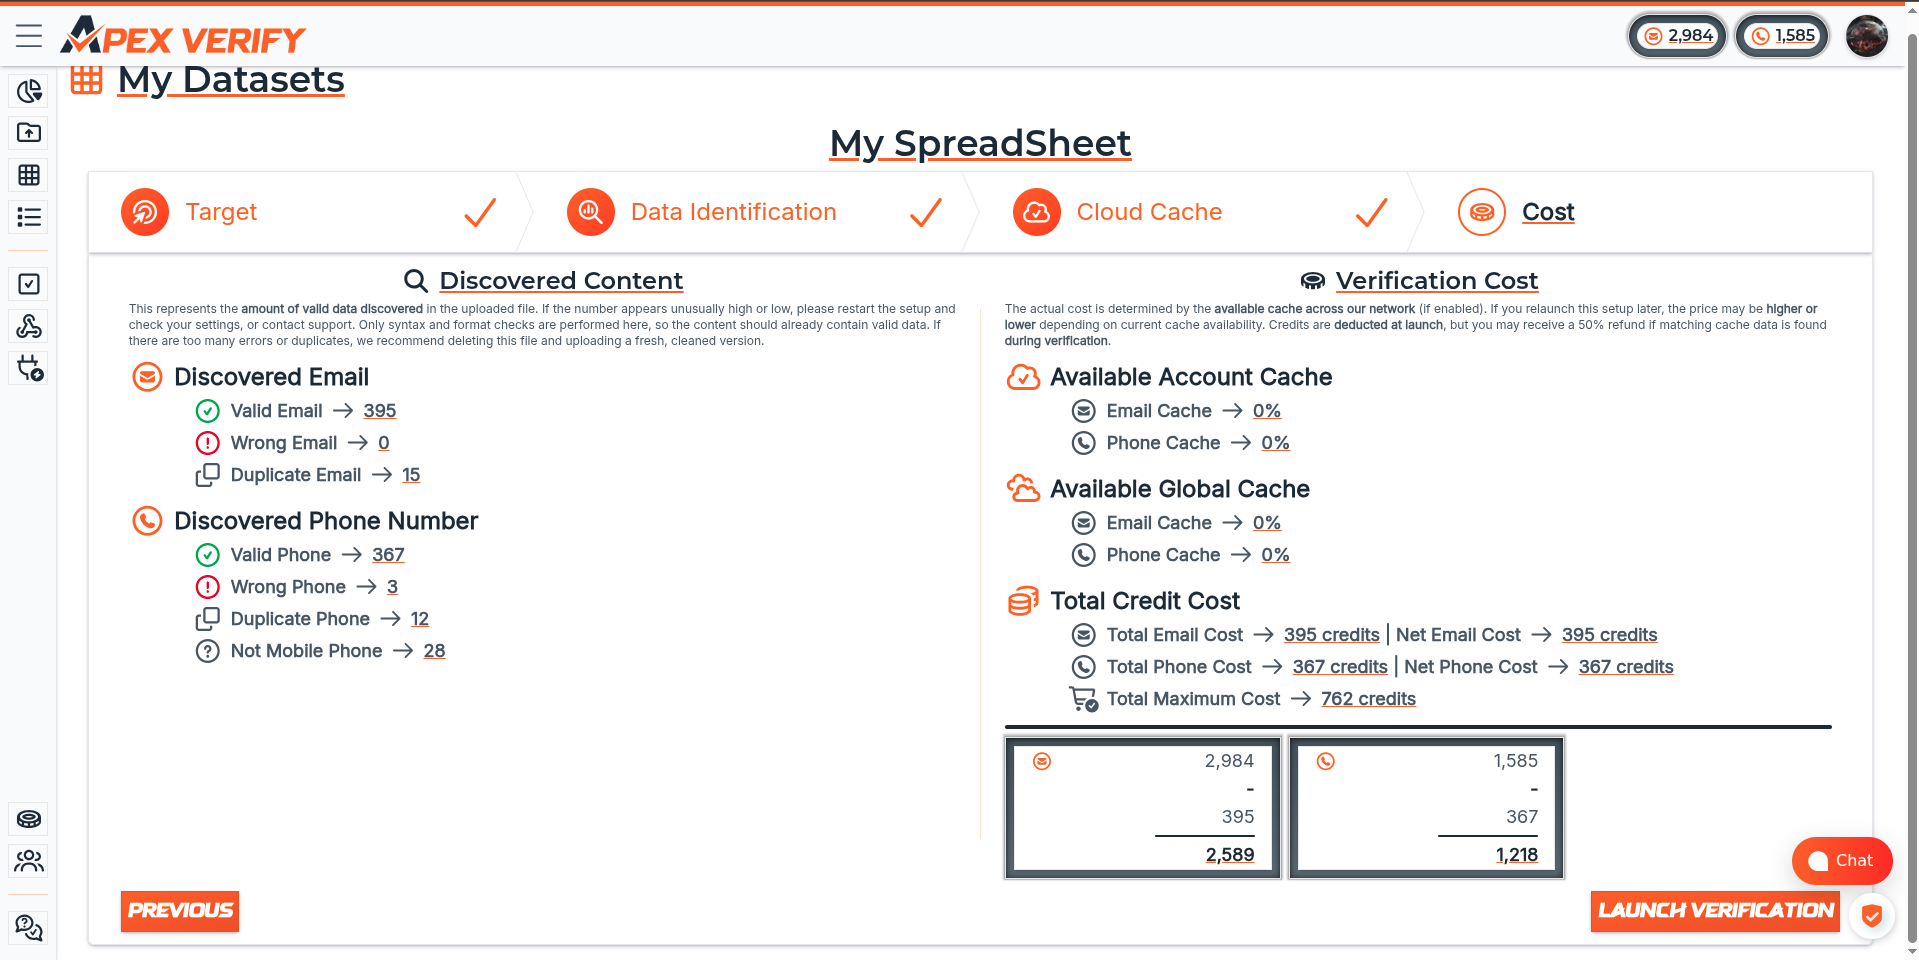
Review the batch costs and click LAUNCH VERIFICATION to start verifying. Dataset upload supports at most 1M rows per file.
Step 7: Wait for results
The batch status updates in real time on the dashboard. Processing time depends on dataset size. The status will change from Ongoing… to a date when complete and you will receive a confirmation email.
Step 8: Export your results
Once the confirmation email is received, go to My Datasets and click View Result. Click EXPORT RESULTS to download your results.
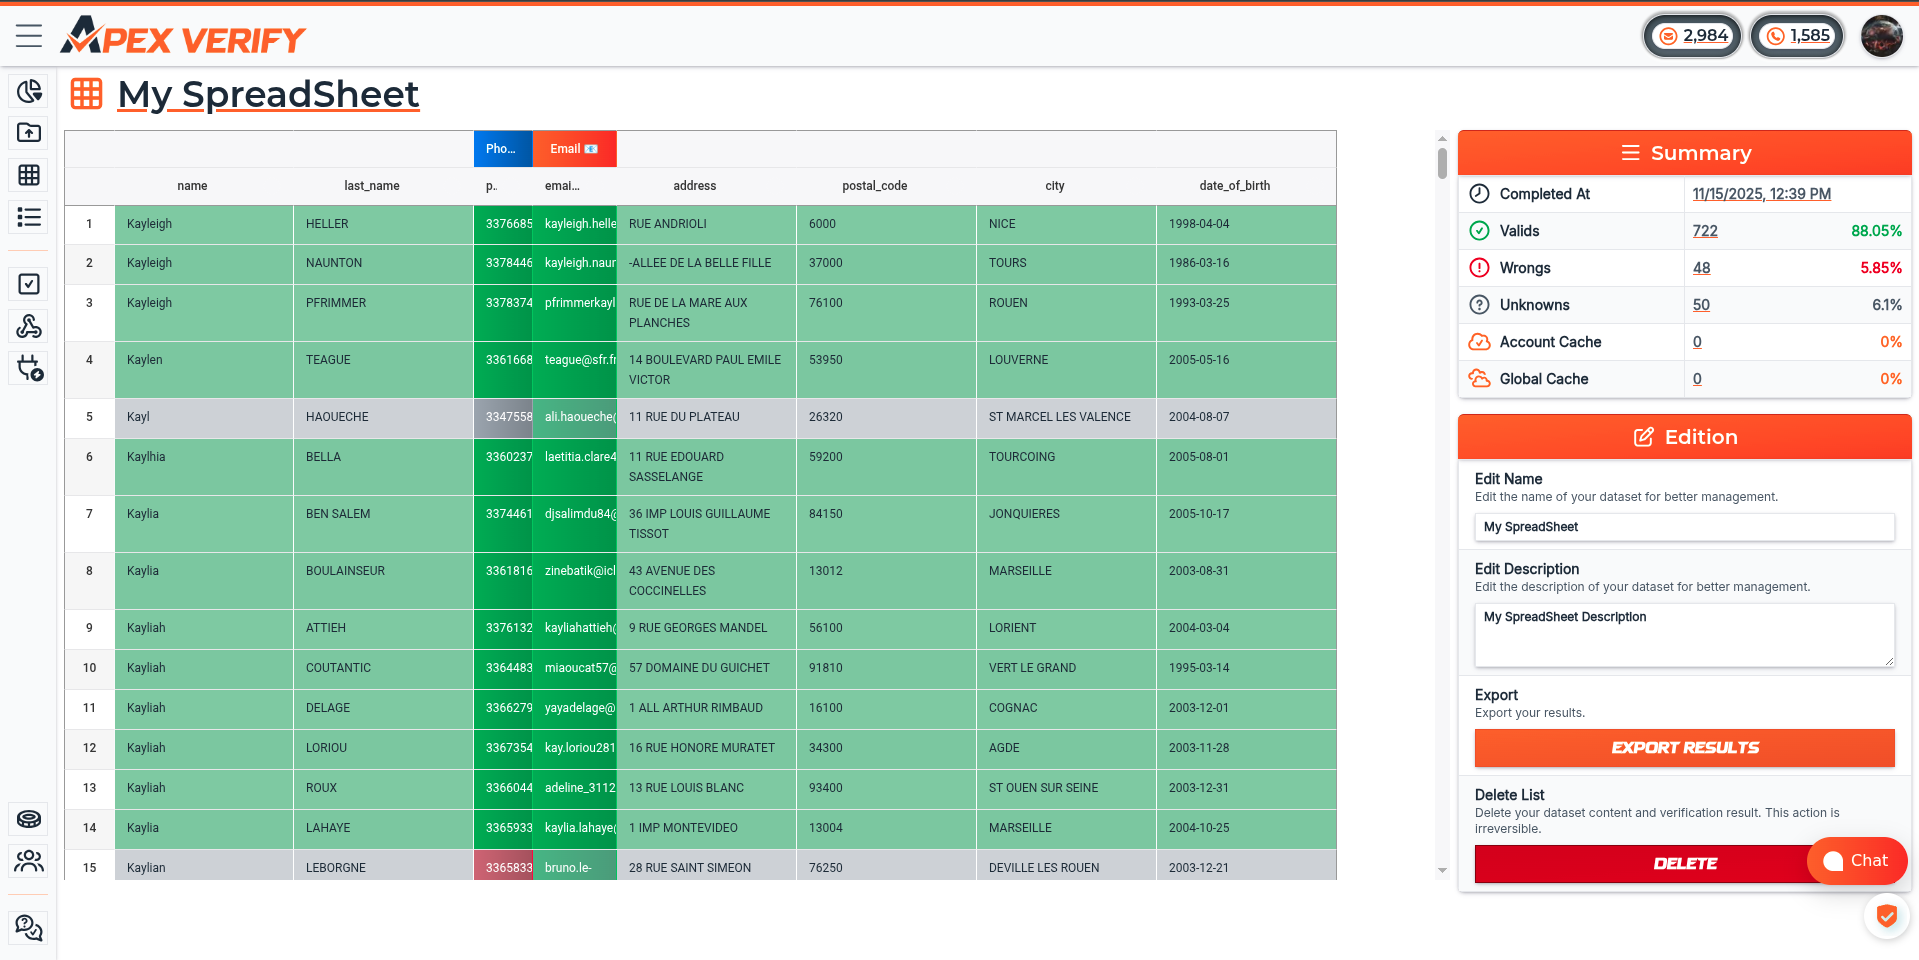
You’re done! Your first dataset verification is complete. Results include validity, quality signals, and metadata for every entry in your dataset.