Your First Verification
This guide walks through verifying a single email or phone number using the ApexVerify dashboard’s Unit Check feature.
Prerequisites: a logged-in session at app.apexverify.com. If you haven’t created an account yet, see Your First API Key.
Steps
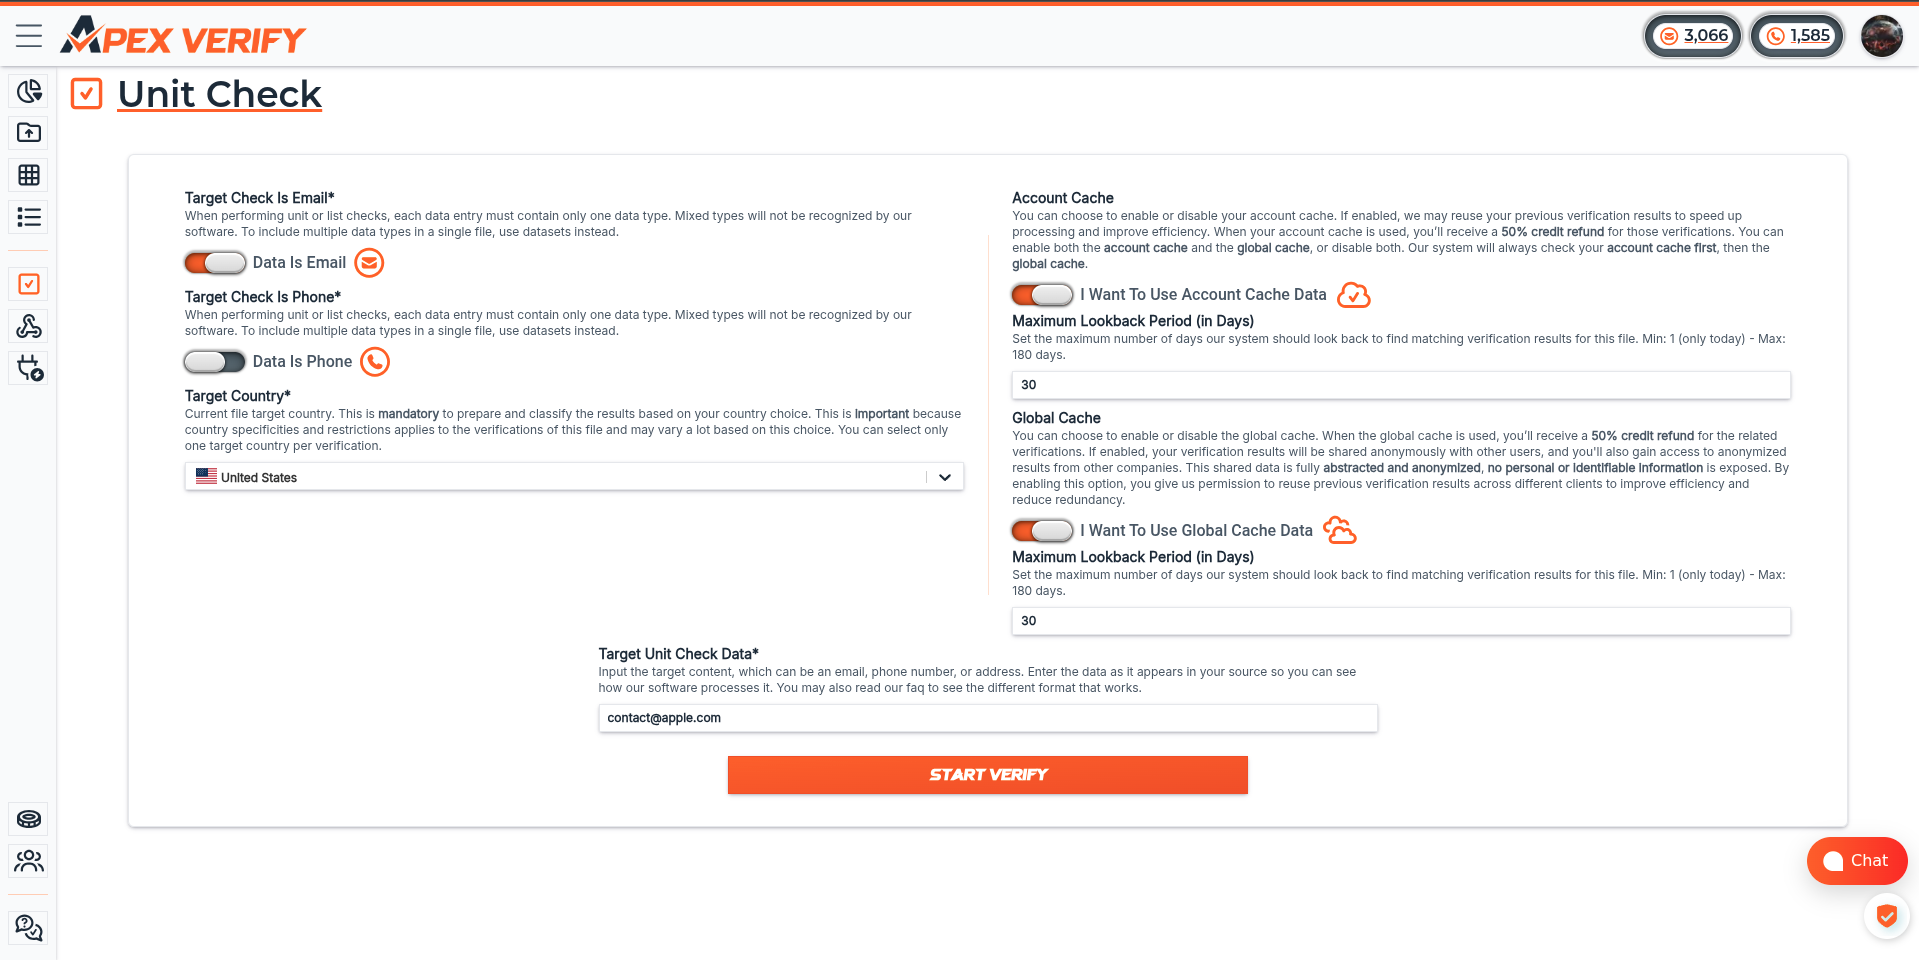
Go to Unit Check
In the left sidebar, click Unit Check. This tool lets you verify a single email address or phone number instantly.

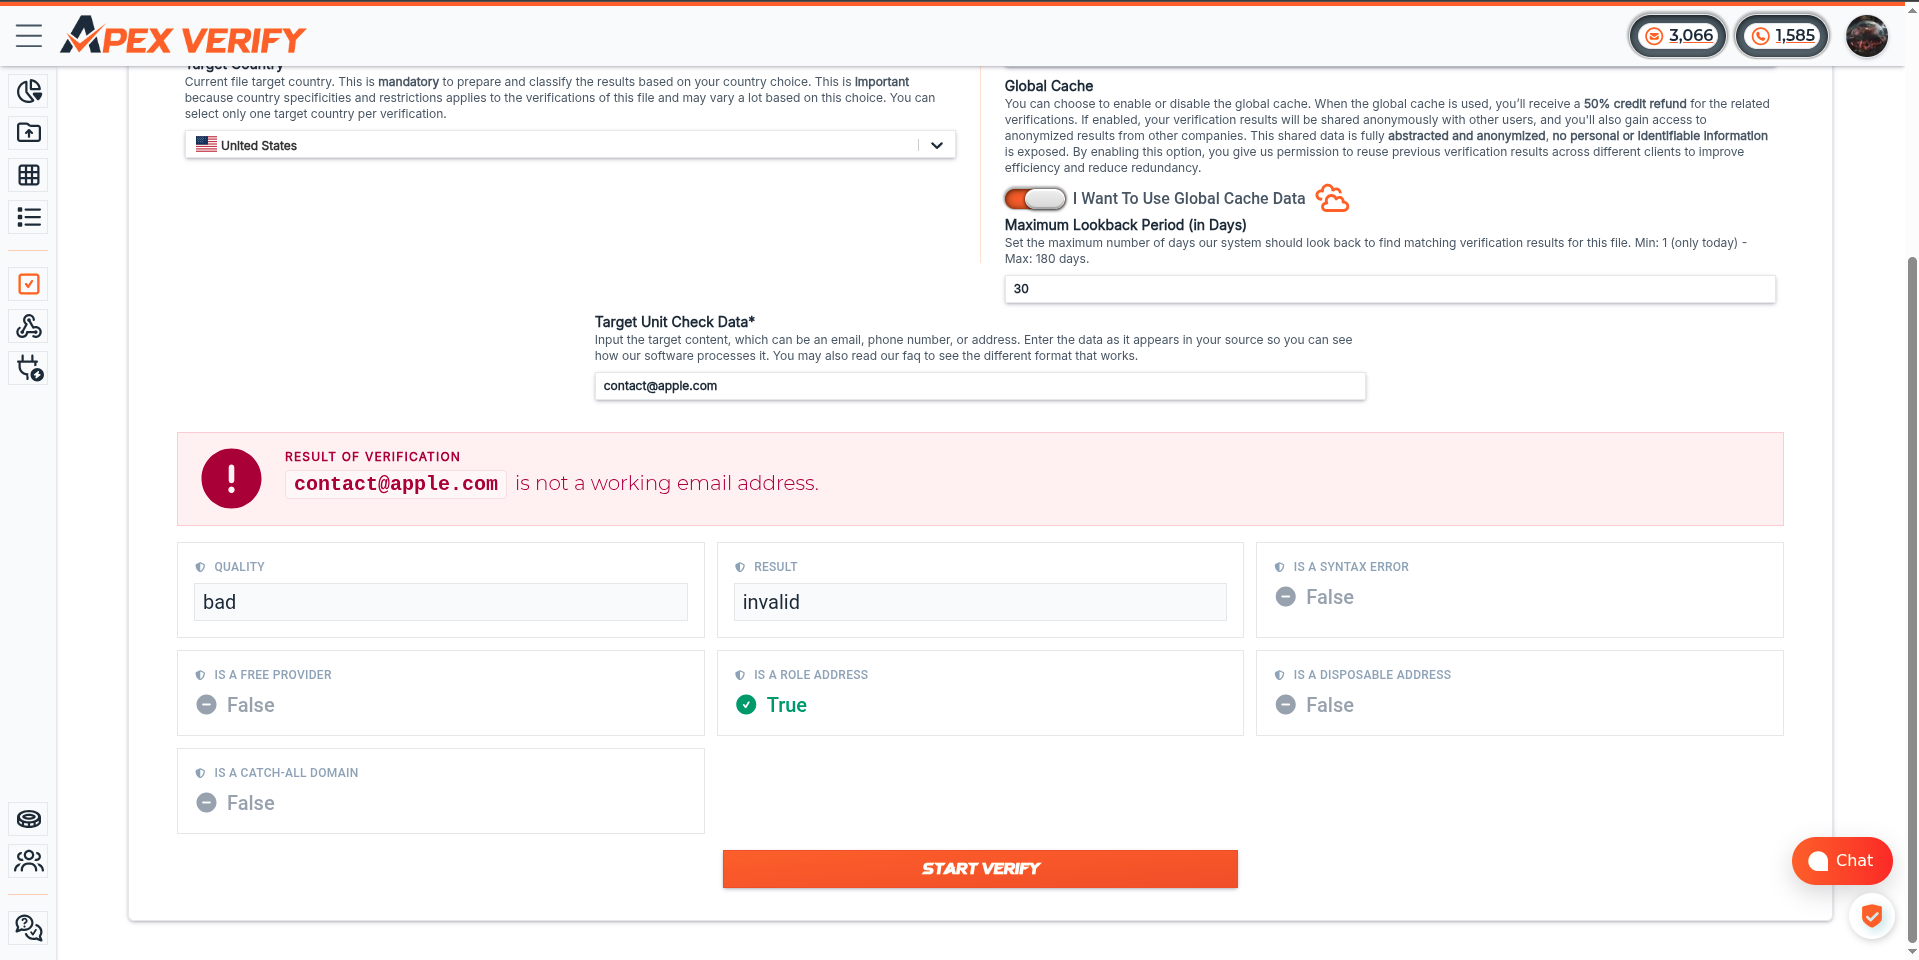
You’re done! You’ve completed your first single-item verification using the ApexVerify dashboard.